Saturday, July 9, 2011

Hey there, A Little Artsy readers!
I'm Stephanie from Luxe Boulevard.


Already I'm loving being here today. 
I just love that Casey and Chris decided to start this blog for A Little Artsy. 
And that I get to share a little how-to with all of you. 
I wish I was in Dallas and could take some adult art classes. How fun would that be to do with my husband?

But I will settle for the blog, any day!
We are going to use a really simple, basic method of focal blurring an image with your photo editing software. I do use Picnik and Picasa, and, yes, those have a focal blur options, but it is round, only allowing you to enlarge or decrease the size of the circle. But my object isn't always round, now is it?
And, yes, I know my DSLR does this for me as well. I'm sure Casey's husband, the super photographer!, is thinking this. But I just recently upgraded to a fancy schmancy DSLR from a hand-me-down point-and-shoot and I haven't quite gotten the hang of all the tricks. So it's software to the rescue!

I work in GIMP (a FREE photo editing software program), but these principles are basic, so you can easily follow along in Photoshop. I use a lot of Photoshop tutorials with GIMP.

 Open your image, your toolbox, and your layers channel. You can see my image layer as BACKGROUND in the layer box. Right click the layer and select Duplicate Layer. You should now have two layers of the same image, the new one labeled COPY.

 Working on your copy, go to Filters > Blur > Gaussian Blur. You don't have to use the Gaussian blur, I just prefer it for this. It has a bit of a softness to it.

 The Blur Radius will depend entirely on you, your taste, and your image. I use a different numerical setting for different pictures. I always use the IIR Blur Method. Play around a bit, see what you like. Then hit OK.

 Now that this is nice and fuzzy-ish, right click your copy in your layers channel and select Add Layer Mask.

Make sure you select White (Full Opacity). Click Add.

 You can see in the layers channel I have a white square box next to my copy layer. That is the layer mask.
Turn your opacity down to about 80 so you can see a little easier, then go to your Toolbox and select the Paintbrush, choosing a fuzzy or feathered edge brush. DO NOT use a hard edged brush. Make sure your colors are set to Black as your foreground color. Then just start painting the part of the image that you want to focus on. Don't worry if you go outside the lines a little. We can fix that.

 You can see in mine, there are some edges that need a little refining, especially up between my feet. Yes, those are my feet, no comments please. That is why we are blurring this!

 With one click we can fix those edges. Click the little arrow between your background and foreground color, bringing the white to your foreground. You are using a White Opacity layer, so reversing the colors reverses the effect. Get it?!

 Switch to a small brush size (I used the smallest soft edged brush I had) and go over all of the edges with the white.

 Turn your opacity back up to 100 (if you want) and merge your visible layers. You can see my layers channel displays one layer now. You have to merge if you're saving in JPEG. JPEG does not support layers.
That's it, I now have this anklet (actually a necklace wrapped twice) focused in on.

 You can use this same technique to do other manipulations. See here I edited my families photo.
After duplicating my layer, I desaturated the image. Then I added my white layer mask and started painting the center of the frame, coloring us. Reversing the colors allowed me to go around those edges and fine tune the whole thing. 

Just like so!

Thanks for having me here today, Casey. I'm happy I got to share this. I hope everyone gets good use out of it. Hopefully I will figure some more things out and have more photo editing how-to's for you all. 
Toodles!

Thursday, July 7, 2011

Plein Air [ Painting ]

By Allie
Last night i set out on my very first, real, plein-air experience.  i feel ashamed to admit it, but even in art school for landscape projects, i would cheat (just a little) and paint from photographs in the comforts of my nice temperature controlled dorm room.  this time i was determined to do it right.

my bf and i packed up our truck with the essentials (picnic basket filled with brushes, (oil) paint, palette, palette knife, and a rag & my easel) and drove the 1/2 mile (yes, we are lazy) down to the river.


My Palette ( i just use an upside down glass cutting board): no black, and a whole lotta white. I'm a big fan of whites and grays, and mixing my own black if i ever need it. i think store bought black is way too artificial and overpowering in most of my work.
with my portrait work i love working in thin, delicate glazes, but for this night i went sans any paint thinner, or linseed oil, and instead just brought a ton of brushes so i could just use a different one for each color family and not have to clean them.


things i learned about painting outdoors (in no particular order):

1.  don't paint at dusk, just after it has rained (killer bugs)...

2. ... but if you do, DON'T run out of bug spray....

3. ... but if you do, a wet canvas catches gnats and mosquitoes remarkably well ( you can probably see a few stuck in the pic above).

4. i found it really hard to paint looking directly at the sun (it hurts my eyes, and since i was painting at sunset, the sun moved too quickly for me to capture it exactly the way wanted too) so midway through i decided to focus just on the sky, and eliminate the sun in my image altogether.

5. if you're painting at sunset or sunrise (or being attacked by bugs), be prepared to work very quickly, and stay flexible with your desired goal.

6. i was taught this is school, but always forget... to add white last... white and i have a love/hate relationship. mostly love. but i did get frustrated when my colors got just a little too muted and muddied by white.  and find that i am most satisfied and end up with the purest and radiant color when i lay down transparent hues first, and then opaques (white)

if i was to become a serious plein-air painter, i think i would probably invest in heavy duty citronella tiki torches, and a nice umbrella or tent to shield the sun.  i would love to spend an entire day at the beach, doing a one painting an hour.  hmm... ideas, ideas.

does anyone else have experience painting plein-air, any tips to make the transition from studio to outdoors any easier?  

its been a REALLY long time since i've tried painting landscapes... especially in just an hour. but for my first one in a few years i'm pretty pleased, and it was suprisingly refreshing to mix up my typical studio practice. try it soon!

i'm planning on doing a series of clouds.atmosphere.skyscapes. focusing on color (or lack there of, and whites), stay tuned!

storage.space

create new storage space with vintage items
i use this $1 thrifted tool box to store the.littles markers + crayons
old luggage ~ is great for doll clothes and barbies
think.outside.the.norm
~danielle~

Wednesday, July 6, 2011

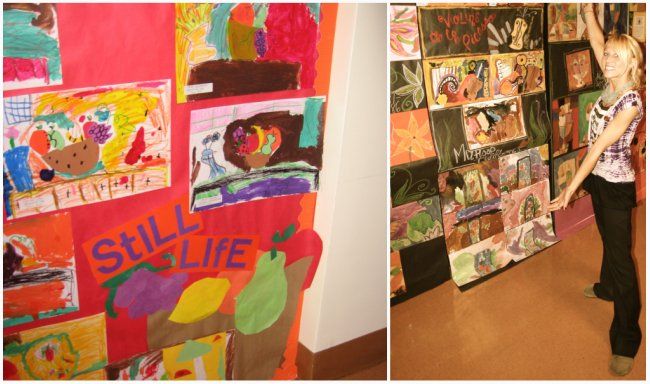
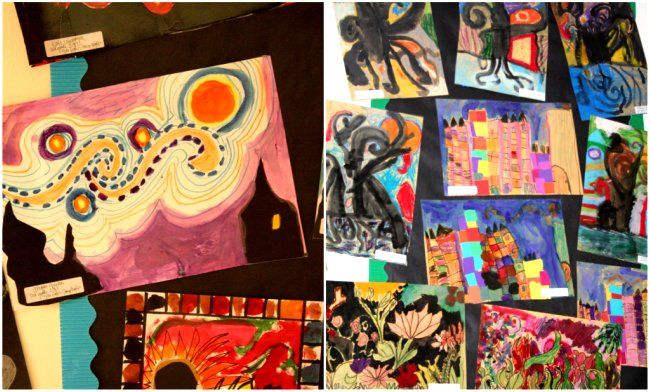
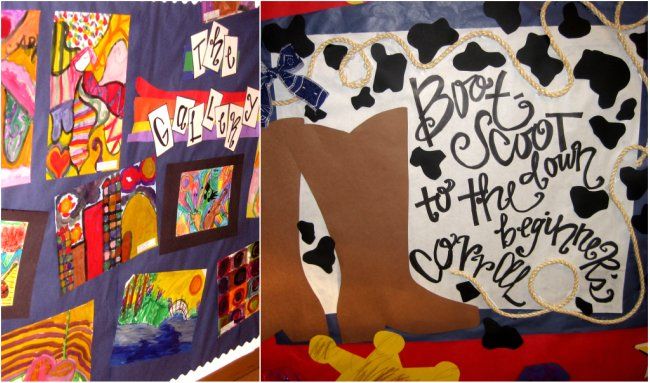
displays

As an art teacher it was always fun coming up with various ways to showcase and display the kid's art!

Photobucket

Photobucket

Photobucket

Photobucket

Saturday, July 2, 2011

photography


Photobucket

They say “a picture’s worth a thousand words” right?
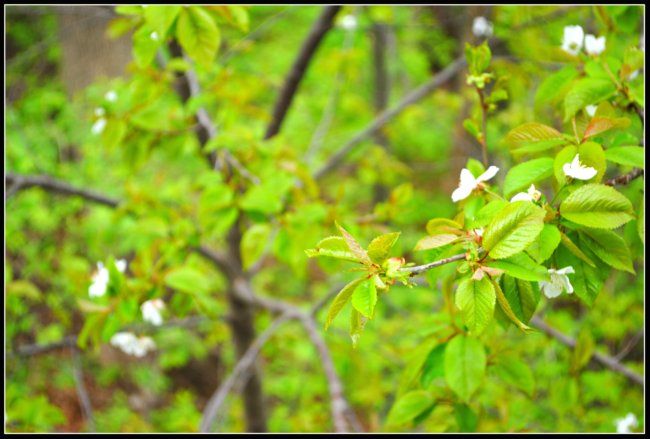
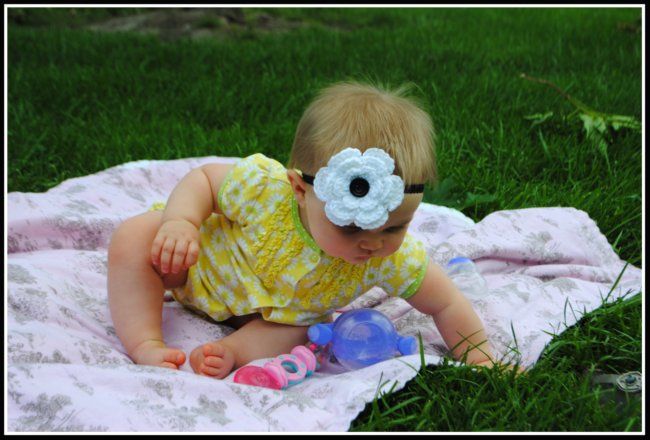
Well, I think they are worth more. Especially after having a baby and living away from family. Sometimes months will go by where the only way my family can see what my daughter looks like is through photos. I have always had an interest in taking photos. I don’t think I have gone one day in the past 5 years without taking a photo. But it was always the, “hey lets get together and take a photo.” I never thought about taking action photos or just capturing every day life. Recently I’ve stopped trying to get my daughter to sit and smile at the camera, but instead capture what she’s doing in her daily life. Or taking a moment to look at what is around me. 


This world can be such a beautiful place and I want to savor that.
I am by no means a professional photographer, and I still have a long, long way to go before I’d call myself good. But this is something that I am definitely passionate about and I am making the goal now to become as good as I can. I’ve never been good with words and I feel like I can better express what I see and feel through photographs.
Photos can make memories last forever. I know that I personally can be forgetful and I want to capture as much as I can so I can look back 20, 30, 40 years from now and remember what life was like at this time.
Casey has definitely inspired me to be better. Her photos are beautiful and you can really see the love behind them. My hope is that someday people will be able to see the love behind my photos, because it is something that I truly love to do.

Photobucket

Friday, July 1, 2011

big boy room art