Showing posts with label diy. Show all posts

Thursday, September 19, 2013

DIY Feather Headdress


Hello lovelies!! I'm Shio, born and raised Native American gal, who loves being a momma to her 3 little sweeties, married to her love, crafter, blogger at SWeetnessaboos, homeschooler, & etsy shops owner; all while living in the beautiful Southwest!!

Today's tutorial is super easy and SUPER LOVELY!! I was so excited to share this tutorial because all things native inspired are huge in fashion & home decor right now!! And of course with it being fall weather now, it seemed to be the perfect kind of headwear/headband to craft!

What you'll need:


Step one// measure your head or your child's that you are making this for. cut the FOE (fold over elastic) the same size as your head. 

Step two// take the FOE and shape it into a circle making sure that the ends overlap each other about 1 inch, then hot glue it in place.

Step three// cut out two 1x5 inch pieces of felt


Step four// A. gather your 3 feather pieces (if they look like the bottom fluffy one have no fear, i will help you shape them to look like B.)
C. turn the feather upside down and snip the feather from one side at an angle
D. flip the feather over and do the same to the other side


Step five// arrange your feathers across the felt, then hot glue them down.


Step six// take your FOE headband piece and lay it across the felt & feathers, then hot glue it down.


Step seven// glue down 2nd piece of felt over FOE and feathers


Step eight// put a line of hot glue in the center, straight across the felt. then lay a strand of sequin ribbon over the glue. once glue is set (cool), trim off excess of sequins. if the sequins on the ends are not fully secure just add a tiny bit of hot glue to set. 


Step nine// if the back of your button looks like this, then get your pliers out and snip that excess piece away. (this will help so that the button lays flat when glued)


Step ten// add a good amount of hot glue to your button and glue it to the center of the felt & sequin ribbon


Now wait for your glue to set and admire your lovely new feather headdress headband! I told you this was easy, and best of all there was no sewing required!!! There are so many ways you can customize this to fit your needs, or likes by changing the colors or by adding sew on gems instead of a button!!


 I am so happy with how lovely this turned out!! If you make this you def have to share pics with me via instagram: @sweetnessaboos!

If you want to see more DIY's or keep up with me & my family, come visit me at Sweetnessaboos!!


Thanks so much for having me!! xoxo!! -Shio

Wednesday, March 20, 2013

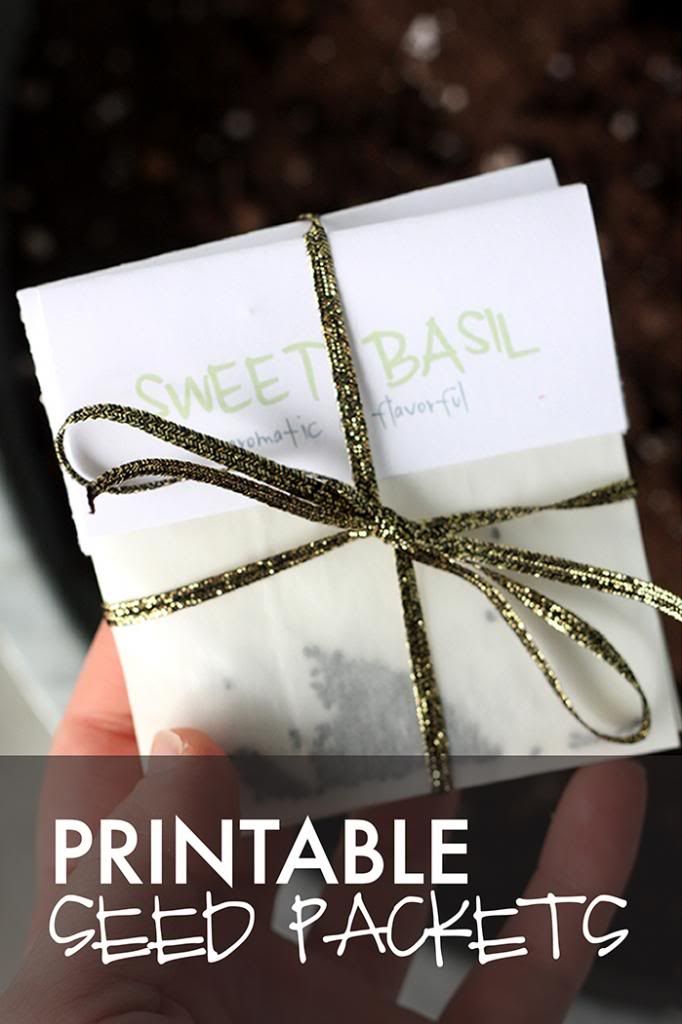
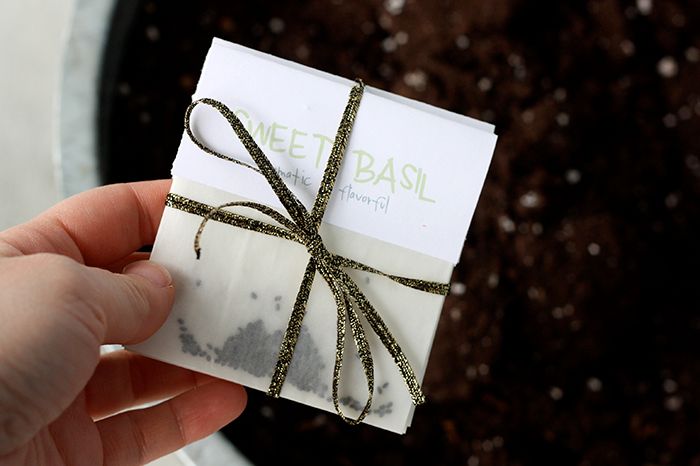
printable seed packets.

why hello. my name is Dawnelle. i am considered many things, mother and wife are at the top of the list. but you must not forget lover of sharpies, chief nose wiper, avid obsessor of texture and fabric, bohemian lover, interior designer, laundress, and the best book reader ever. i write over on Just Dawnelle about my sweet family and my life... what i think, feel, love, believe, do and obsess over. 
I am so excited. The time is coming, spring is coming... which means the time is coming to plant! Oh I can't wait for all things green and fresh... flowers... herbs... fresh vegetables and fruit... I'm DYING for something green! Plus don't you think there is something magical and creative in growing something?

So, in honor of that wonderful time of year I put together this little herb garden kit, complete with a free printable for the labels, for a few friends of mine. It has all the seeds in one place to plant a fabulous, delicious, aromatic herb garden! Throw in an adorable pair of gardening gloves, maybe an apron or pair of rain boots and you have yourself the perfect little spring gift!


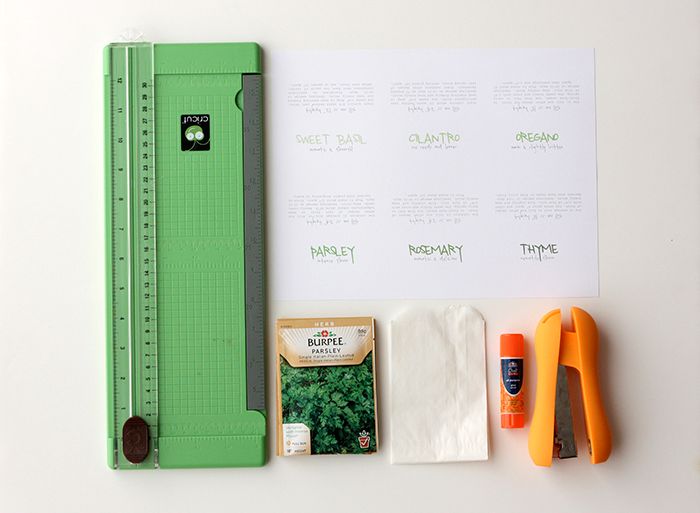
SUPPLIES
 Paper cutter (or scissors)
Glue Stick
Stapler
Seed packets
Small flat pack glassine bags (3-1/4" x 4-5/8")--You could totally use brown kraft paper or cello if you wanted to! (My bags came from here)

INSTRUCTIONS
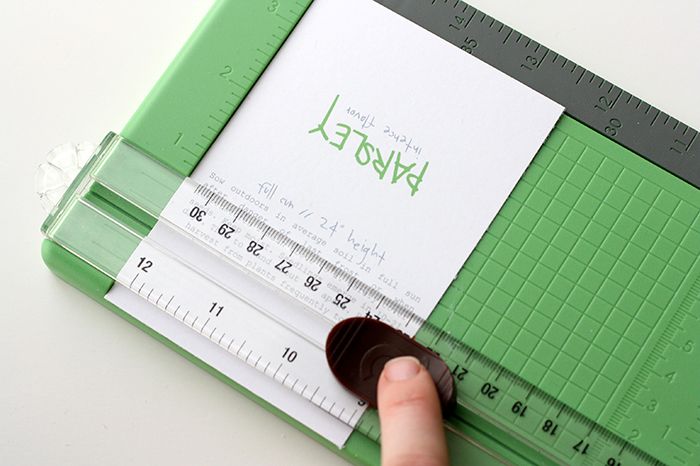
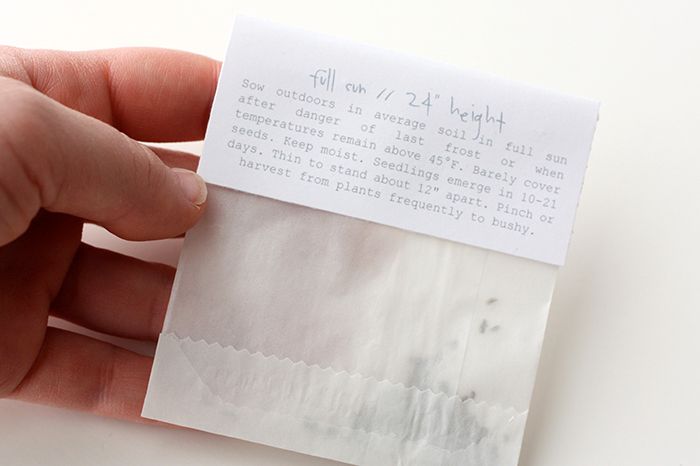
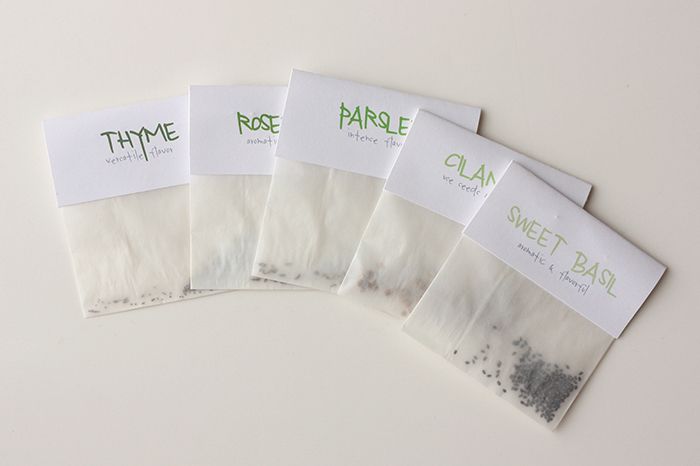
Begin by printing the labels here and cutting them out. Each label has the name of the herb and a small description on the front and the growing and harvesting instructions on the bag. The printable includes labels for sweet basil, cilantro, oregano, parsley, rosemary, and thyme.


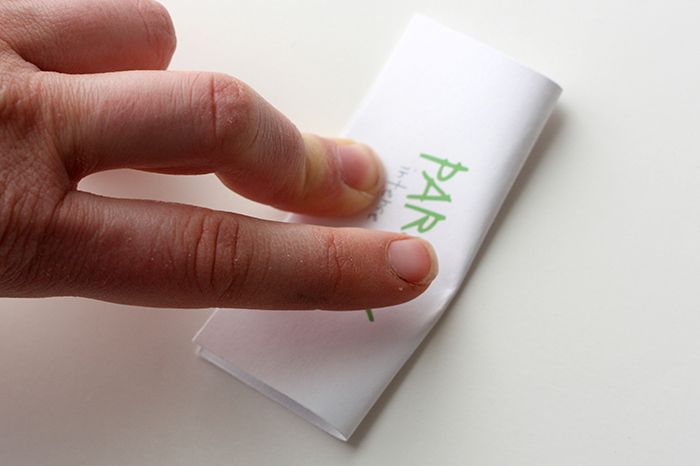
Take each label and fold them in half so the title is on one side and the instructions on the other.


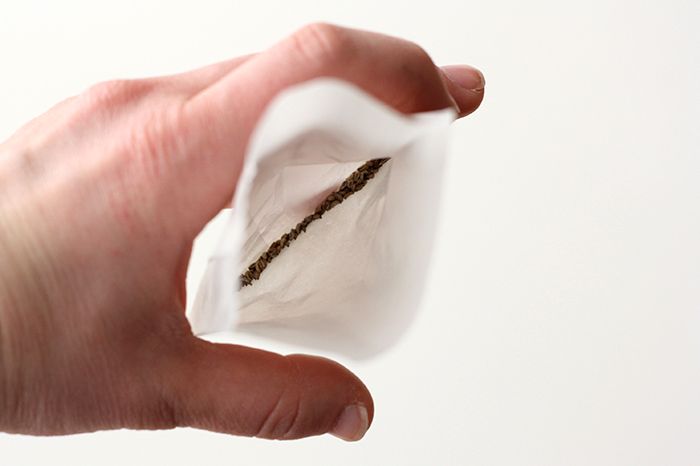
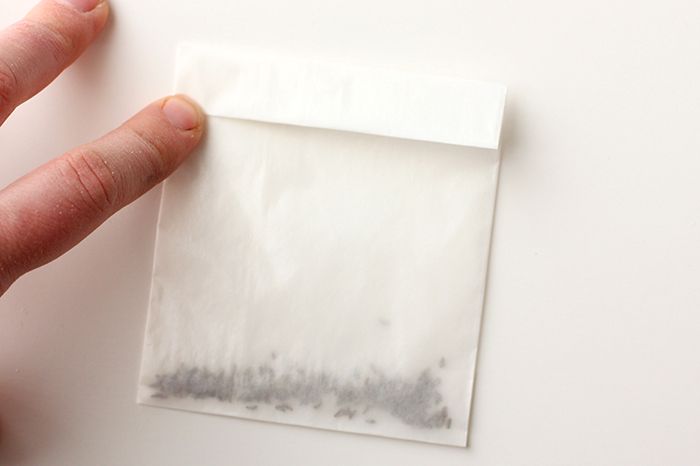
Time to fill the bags! Pour a few seeds into each glassine bag. Be sure to keep your seeds labeled so you don't get things mixed up. Once they're in the bags it is pretty easy to get them mixed up.


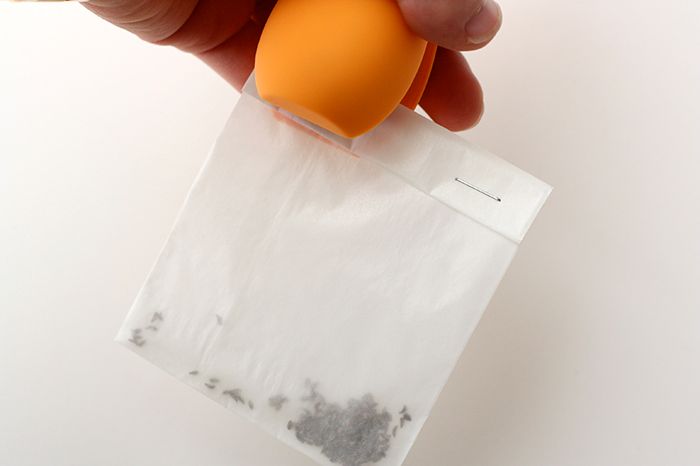
Fold over the top of each bag twice (so you don't have any magical escaping seeds) and staple to keep it closed.


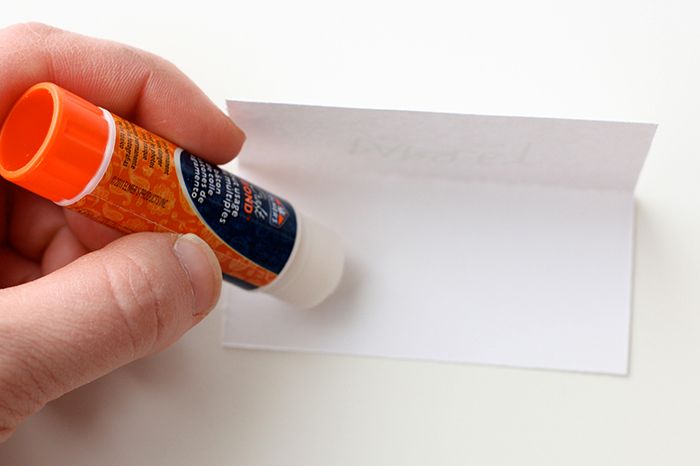
Add a little glue to the folded label and attach it to the bag! You can always staple the label as well if you would like. I didn't want to see the staples though so I chose glue.


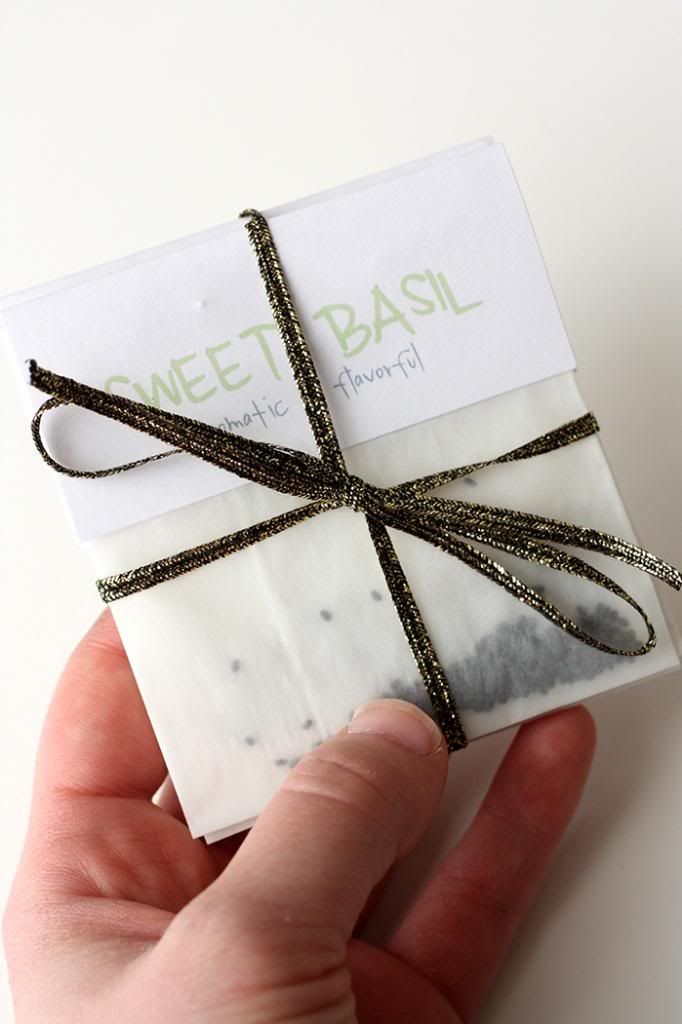
Ta-da! Tiny little packages of seeds. Tie them all together with some trendy baker's twine, stripes of fabric, or a great piece of trim and there you have it!! An adorable little packet of seeds perfect for a small little container herb garden! What do you think?


Download the printable labels HERE.

Friday, March 8, 2013

diy hearts.

Annapolis & COmpany | DIY Applique Tee
Annapolis & Company | DIY Applique
Hi schooners! I'm Mary Beth and I blog over at Annapolis & Company about our new life in the midwest. We're lovers of rainy days, starbucks coffee dates, weekend adventures, and anything stripy and nautical. I hope you'll come say hello!
Today we're talking DIY simple. Real simple. I am a novice seamstress, at best, and this was one of my first projects I ever did! There are several tutorials out there for this one, but I have included my method below using old J Crew sweaters for my coordinating fabric. I love the texture and cozy it adds to a basic concept. Want to make some of these darlings too???
What you'll need:
Annapolis & Company | DIY Applique
Plus...
// a sewing machine
// iron and ironing board
// and something hard you can iron on, like a piece of wood.
{Never used Heat n Bond before? You can find it here.}
Annapolis & Company | DIY Applique
Step One: Print out your image you are using for your appliqué, or free-hand one.
Step Two: Cut out your image.
Annapolis & Company | DIY Applique
Step Three: Cut your fabric to slightly larger than your image cut-out.
Step Four: Cut heat n' bond to the same shape as your fabric.
Step Five: Make sure you place your heat n' bond with the bumpy and glossy side facing up and backing your fabric. {This is the side that, when heated, will make it adhere to your fabric.}
Annapolis & Company | DIY Applique
Step Six: Iron your fabric to the heat n' bond on a low heat setting, on top of a hard surface, such as a piece of wood {as shown here}. You want it to be completely bonded to the fabric.
Annapolis & Company | DIY Applique
Step Seven: Trace your image to the back of your fabric, wrong side facing you, if you are using an image where direction matters.
Step Eight: Cut out your image now.
Step Nine: Peel the backing of the heat n bond away from your fabric. There should be left a glossy surface on your fabric.
Annapolis & Company | DIY Applique
Step Ten: Arrange the placement of your appliqués onto your article of clothing.
Annapolis & Company | DIY Applique
Step Eleven: Run a top stitch around your appliqué. I keep my machine on the slowest setting it will go, so that my stitching can be as accurately close to the edge of my appliqué as possible. I also love my triple stitch setting on my machine, which is the stitch shown above. Looks professional and gives instant texture! And I used a zig zag stitch for this J. Crew, chunky, sweater material below...
Annapolis & Company | DIY Applique
Simply adorable, no?
Want to see more DIY's, family friendly recipes, and some schooner tales thrown in? Come visit our family at Annapolis & Company!

Thursday, February 28, 2013

party.

why hello. my name is Dawnelle. i am considered many things, mother and wife are at the top of the list. but you must not forget lover of sharpies, chief nose wiper, avid obsessor of texture and fabric, bohemian lover, interior designer, laundress, and the best book reader ever. i write over on Just Dawnelle about my sweet family and my life... what i think, feel, love, believe, do and obsess over. 

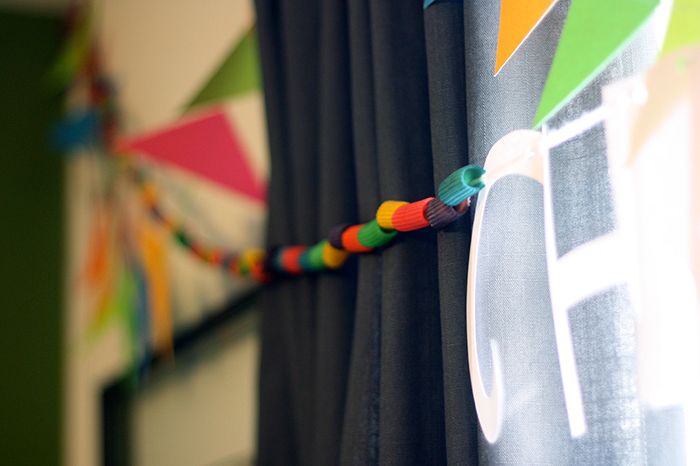
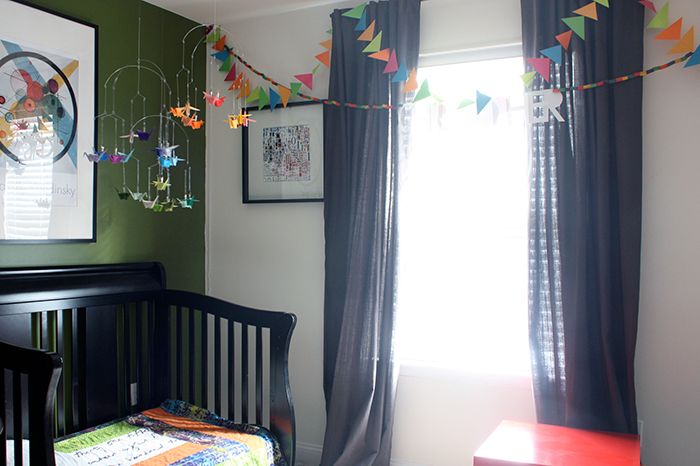
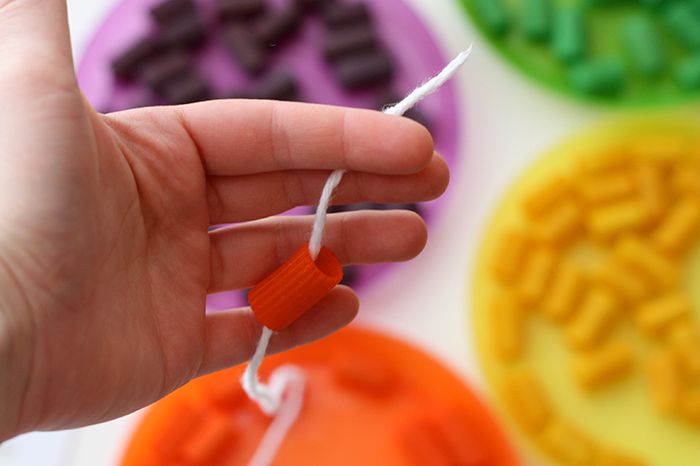
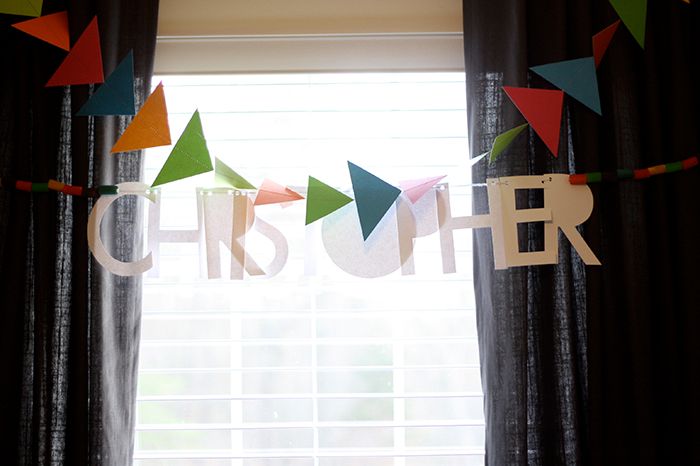
One of the activities we did at Christopher's party this weekend was stringing dyed noodles to make necklaces or garland. Well... I got to thinking... I should make a garland with Christopher's name on it that he can hang in his room. How fun would it be for him to see something that he made hanging in his room each day??

I won't lie, it was rather interesting helping Christopher string the noodles. But seeing the excitement in his face and hearing him giggle when he crawled into bed and saw his garland hanging there in his room made all the work totally worth it!!


The garland was unbelievably easy to make... There are two different parts to the project but really if you keep at it you totally could do the entire thing in a day.

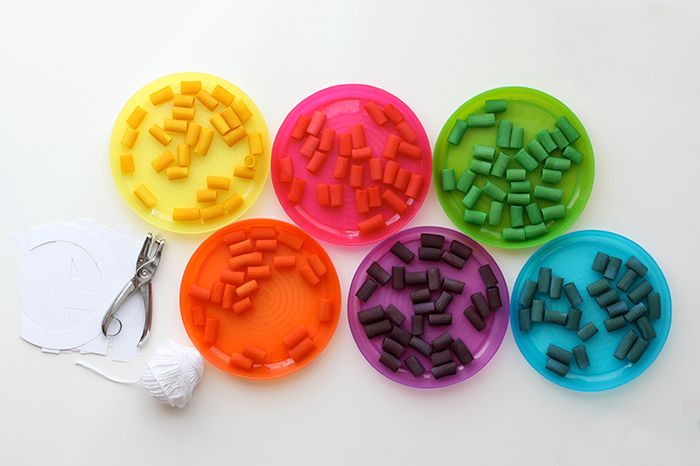
I used these instructions to dye the noodles. I used rigatoni noodles because they are large, columnar, and have a huge hole allowing Christopher to string them very easily. A few other tips you might want to remember... the longer you let the noodles sit in the food coloring the darker and more intense the colors get. I let mine sit for probably 30 minutes or so in the dye, flipping and shaking the bag every so often to make sure the color was evenly spread.

Once you have you colored noodles, it is time to string your garland! Are you ready??

Supplies

Dyed noodles (you could totally use really big beads honestly... the noodles are just fun because they're super cheap! We're talking like $2 for more than enough for a garland)
String
Hole Punch
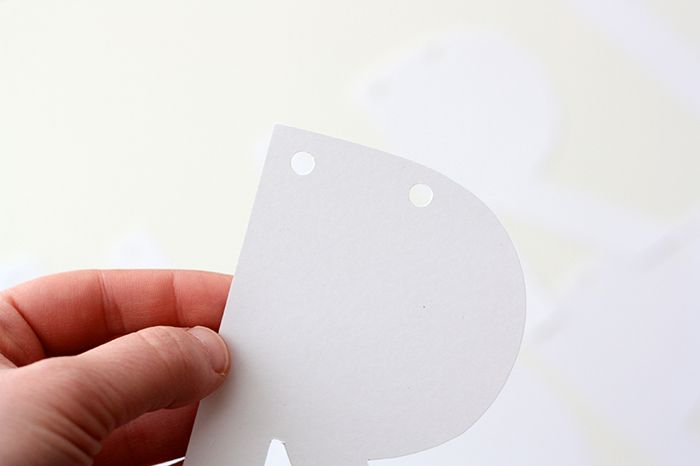
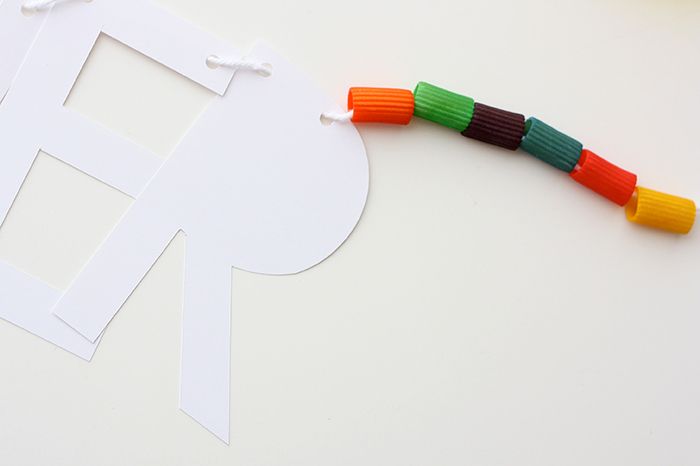
Letters to spell your desired word (I don't have anything to cut the letters out for me so I simply printed them and cut them out by hand.)


Instructions
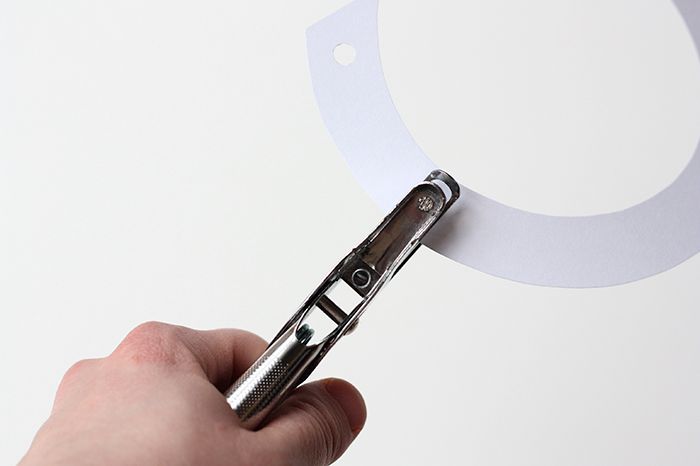
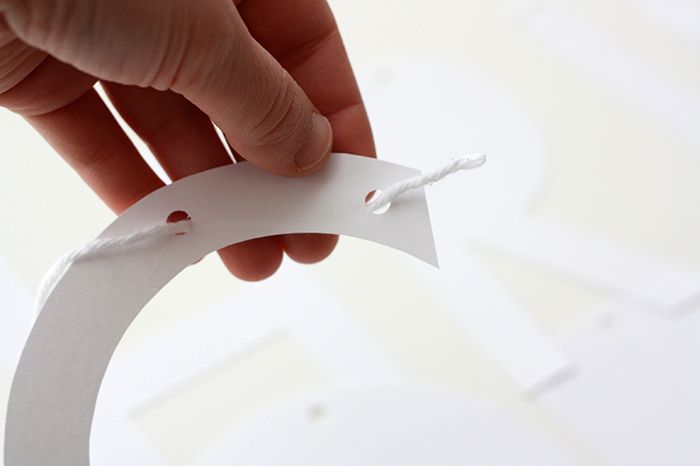
Punch holes in each of your letters. You want each letter to have two holes so that they will hang straight and flat.


Cut your string so it is the length you would like the garland to be.

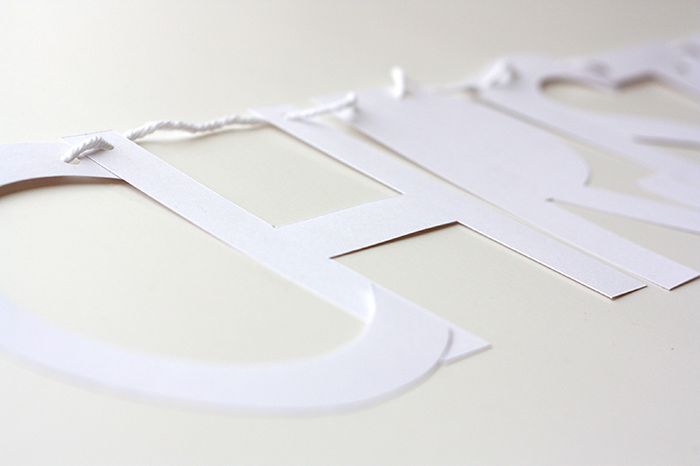
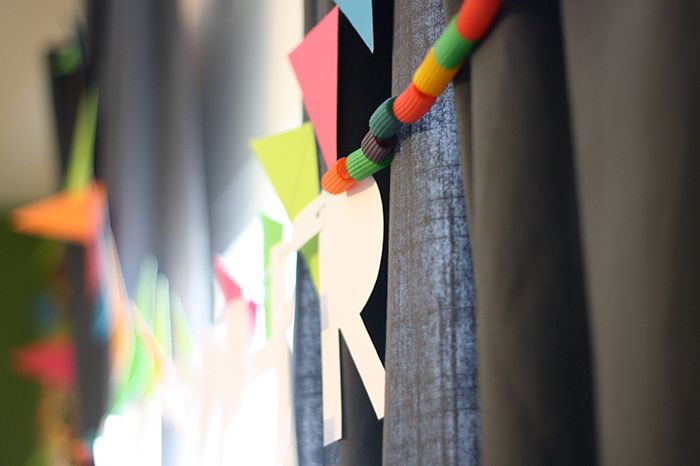
Begin stringing your letters onto the string. I would recommend stringing the letters from the front down and then back up through the second hole. This makes the string along the letter in the back not the front. Trust me... you'll want it that way...


Center your letters so they spell your word in the center of your string.


String your noodles onto the garland on either side of the word keeping the number of noodles even on both sides.


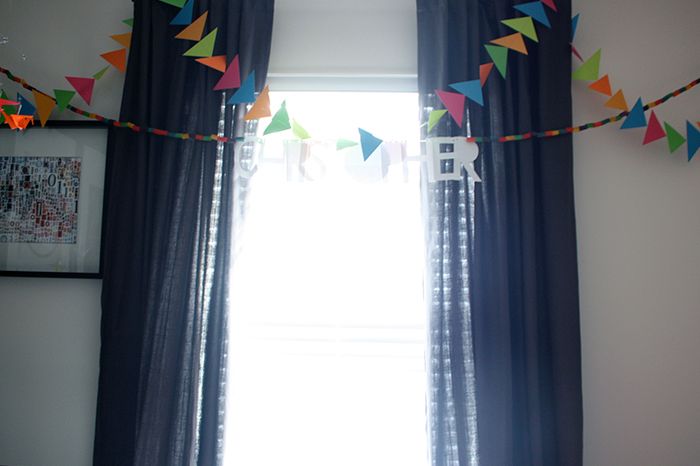
Once you have strung your desired amount of noodles, hang it up!! Enjoy it!! Let your baby feel proud of his hard work!


And there you have it!! Super easy right?? So... is this super cute or just super tacky? I can't decide... Christopher loves it though so I think it will stay up for awhile for him. There is something special in letting your child see his work and be proud of creating something I think.

The triangle garland was made using by sewing a bunch of triangles together to create a garland for decorations for Christopher's party. I thought it looked super fun in his room so hopefully it has a new home!

Friday, February 22, 2013

peanut butter granola

Hello schooners! I'm Mary Beth, a homeschooling mum to 3 by day and a freelance photographer/Anthropologie sales associate by night. I love finding the creativity in everyday life...and celebrating it on Annapolis & Company. I hope you'll join me!
Annapolis & Company | Peanut Butter Granola
I'm thrilled to be back here at A Little Artsy to share a favorite staple around our house: Peanut Butter Granola. If I can whip up a healthy snack from scratch in under 15 minutes, I am so there. And this is one such snack. It's perfect for breakfast or on-the-go. For little fingers. For lazy weekend mornings. And...I'll let you in on a secret: it will make your house spell divine...think warm peanut butter.
All you need are 5 simple ingredients...
Annapolis & Company | Peanut Butter Granola
//Peanut Butter Granola ingredients:
  • 1/4 cup natural peanut butter
  • 1/4 cup honey
  • 1/2 tsp. cinnamon
  • 1/2 tsp. vanilla extract
  • 2 cups old-fashioned oats
directions::
Preheat oven to 325 degrees. Lay parchment paper down on cookie sheet and set aside. Combine peanut butter and honey in a pot and stir constantly until melted, over medium heat.
Stir cinnamon and vanilla into peanut butter and honey mixture. Add oats and stir until oats are completely covered in peanut butter mixture {sometimes I add a little honey if it seems dry}. Spread out oats mixture onto prepared cookie sheet and bake for 7-8 minutes until granola is slightly browned. Let cool until granola is crunchy. SO yum. And SO simple.
We drank hot chocolate with ours...on a rare, snowy day in Oklahoma...
Annapolis & Company | Peanut Butter Granola
If you would like to see more schooner tales and recipes, come follow along with me at Annapolis & Company. Thanks for having me, Casey!