
why hello. my name is Dawnelle. i am considered many things, mother and wife are at the top of the list. but you must not forget lover of sharpies, chief nose wiper, avid obsessor of texture and fabric, bohemian lover, interior designer, laundress, and the best book reader ever. i write over on Just Dawnelle about my sweet family and my life... what i think, feel, love, believe, do and obsess over.
Oh do I have a thing for headbands... scarves... turbans... head wraps... you know basically anything you can tie around your head. I love them. I love the hippie feel. I even love the way some random guy at the grocery store will tell you that you look like Marsha Brady. I mean really, who doesn't want to look like Marsha Brady?!
Which is why, my friends, I present to you the easiest and fastest up-cycled turban-style head wrap EVER! Brilliant right?!

Seriously... it literally took me less than an hour to make not one, not two, but THREE! I know I got a little excited about them. But hey... I did warn you that I had a little obsession right?
Supplies
T-Shirt (or other knit fabric really... I just like the idea of the random screen printing on the t-shirt to peek through every once in awhile)
Scissors
Pen, Pencil, Something to make a mark with
Sewing Machine
Pins (if you are that kind of person)
Instruction
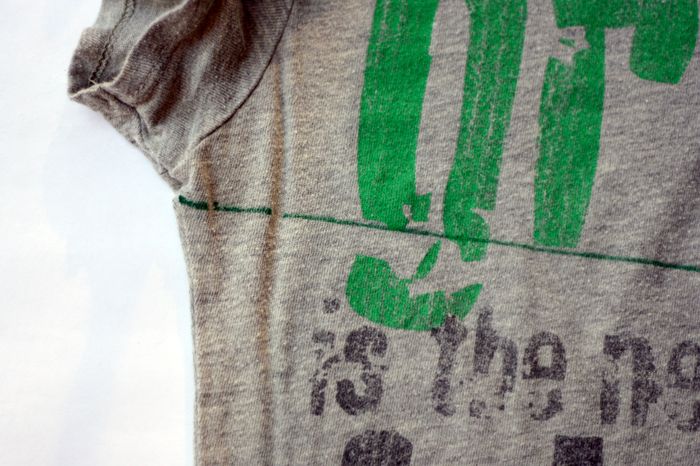
Begin by laying out your t-shirt flat with all the seams lined up and all the creases out. Determine what portion of the t-shirt you want for your head wrap and mark the top and bottom of the wrap. Mine are 10 inches thick but I wanted mine to be pretty thick so it would be all bunchy on my head.

Next draw your lines and cut your your piece out. I know we haven't determined the length yet so just cut straight through the front and back of the t-shirt so you end up with a tube.

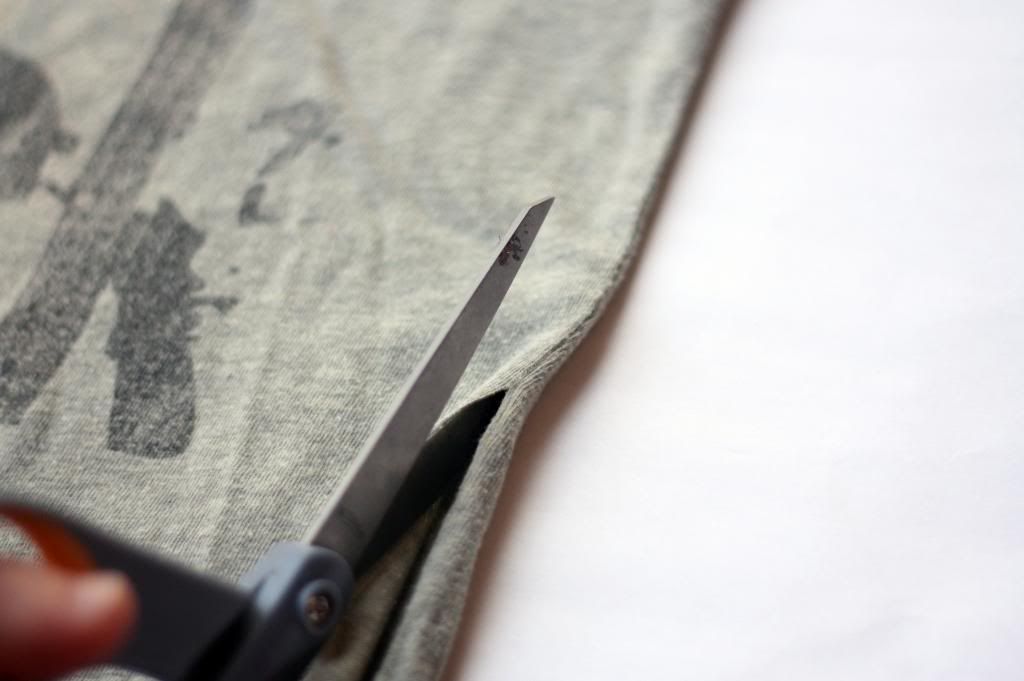
Cut up the side of the shirt to open it up flat so instead of a tube you have one long piece of t-shirt.
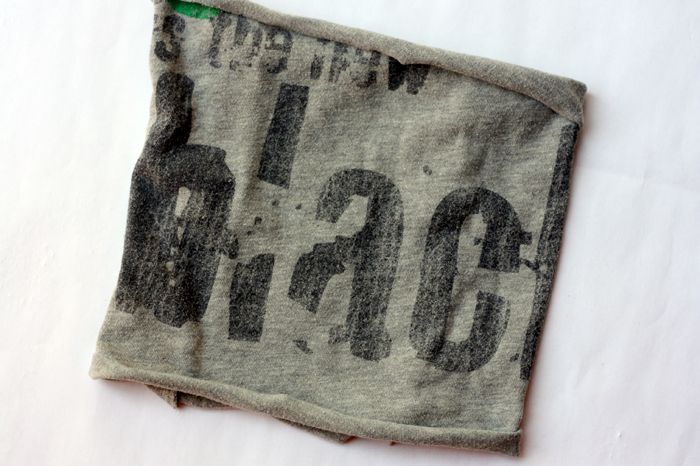
Now, the hardest part (seriously... I said it was easy didn't I?) Determining how big to make the wrap. Mine were made to be somewhere between 8-9" in diameter. I used shirts though that were cotton-poly so they had some serious stretch. The more polyester, the more stretch, the smaller you want to make your wrap.
Cut your length down so it measures twice the diameter you want. Pin the two right sides together (hamburger style!) and stitch it up! I used a zig zag stitch to give it a little stretch along the stitch.
Stretch it out so your unfinishd edges curl up all nice and don your posh (hehe) little headwrap!
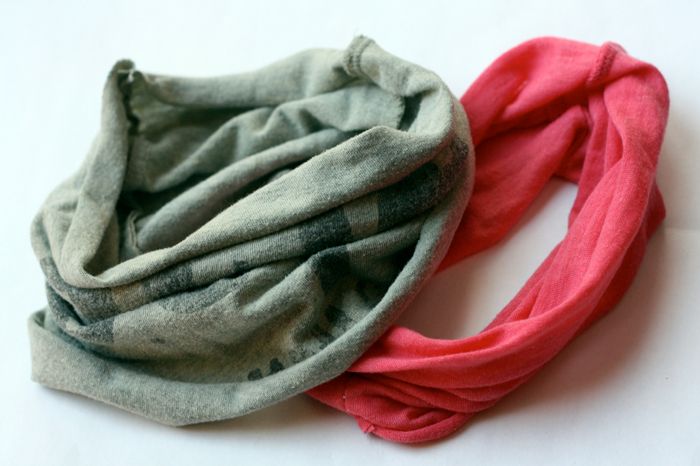
What do you think? I love it with my hair down... totally hippie... and totally functional too with my hair up! Keeps all those nasty little hairs out of my eyes and from tickling my neck. Plus it does add a certain amount of warmth...

What do you think? Do you have any t-shirts just aching to be used for a project??


Super cute! As a fellow curly head I think I could pull this off!
ReplyDeleteFantastic blog! I can't wait to check out more. xx - monica
ReplyDeleteSO beautiful!! Popping over from Sugar and Dots to say hello. :) Have a wonderful week and very happy 2013! XOXO
ReplyDelete