
why hello. my name is Dawnelle. i am considered many things, mother and wife are at the top of the list. but you must not forget lover of sharpies, chief nose wiper, avid obsessor of texture and fabric, bohemian lover, interior designer, laundress, and the best book reader ever. i write over on Just Dawnelle about my sweet family and my life... what i think, feel, love, believe, do and obsess over.
A few years ago my husband and I celebrated Christmas for the first time in our own home, complete with a Christmas tree and everything! The problem... we had no ornaments. Our solution... paper snowflakes! Since then they've become a staple in all of our holiday decor!
A few years ago my husband and I celebrated Christmas for the first time in our own home, complete with a Christmas tree and everything! The problem... we had no ornaments. Our solution... paper snowflakes! Since then they've become a staple in all of our holiday decor!
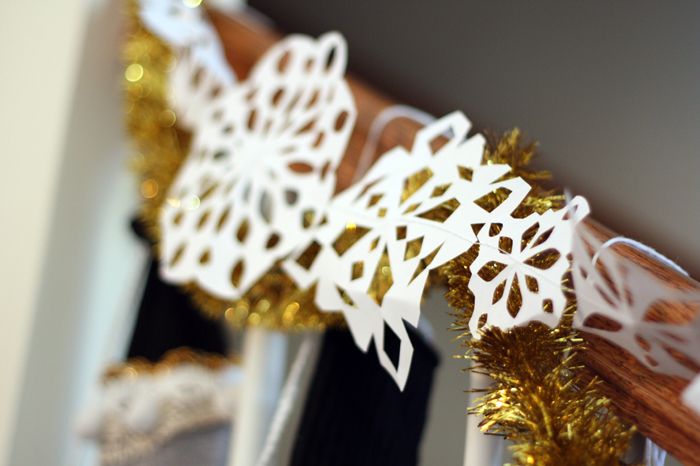
This year, I decided to try something a little different with snowflakes and make garland. It is a super easy little project perfect to do with your kiddos! What kid doesn't like making snowflakes right? Each one is an exciting fun little surprise to open up.
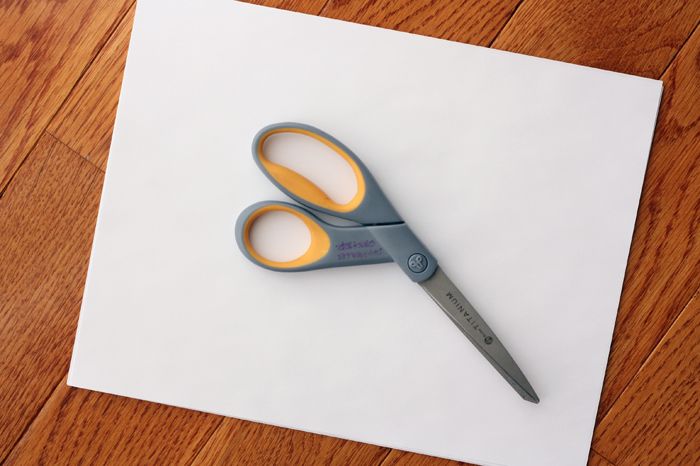
Supplies
Paper
Scissors
Sewing Machine
Instructions
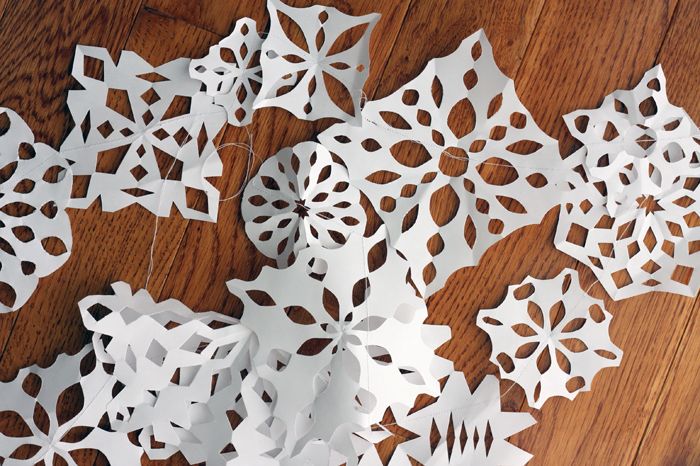
Being by cutting a square out of a section of paper. You can really use any kind of paper you would like. I used regular old copy paper for mine but they look fabulous made out of old book pages too!
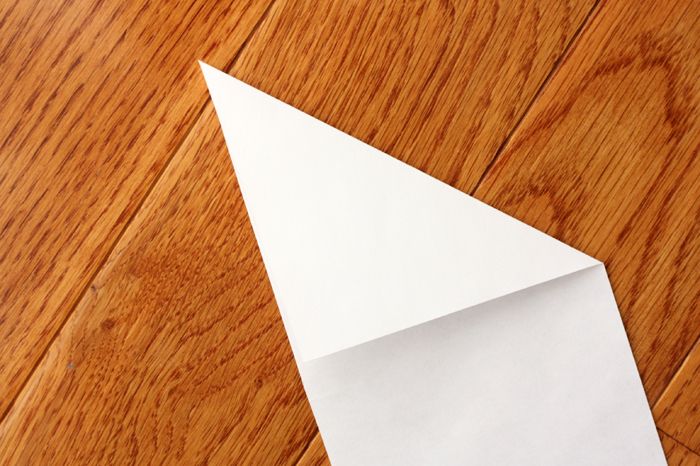
Once the square is cut out, fold in half diagonally once...
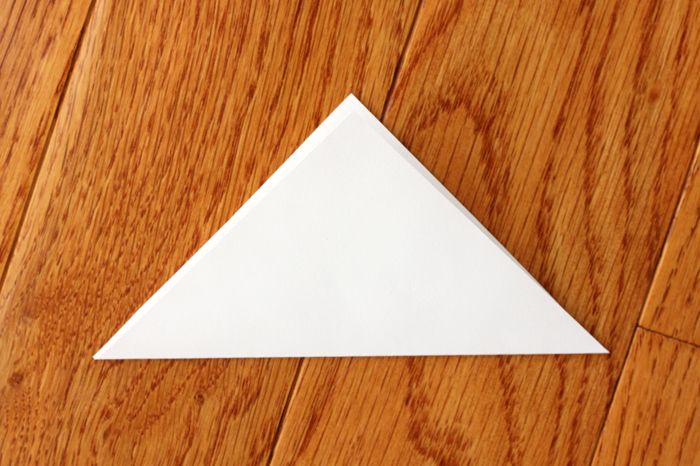
and twice...
and three times... Until it is as small as you feel comfortable still cutting it.

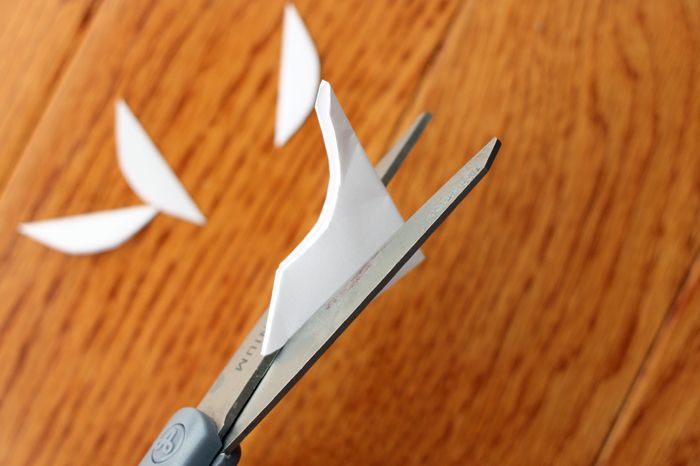
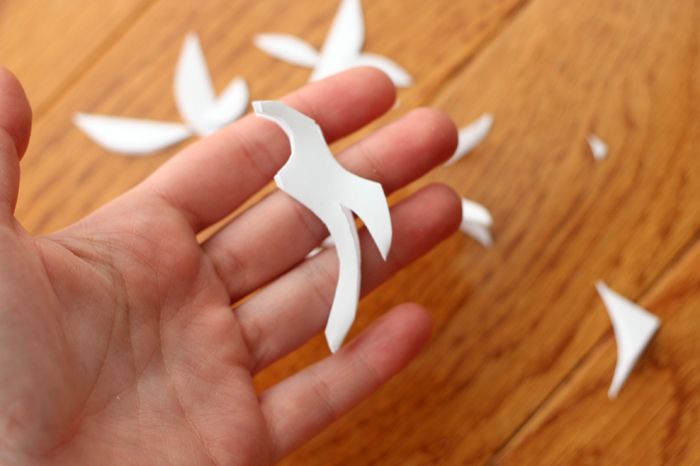
Begin cutting out little sections. If you are looking for a certain pattern in your snowflake, try looking up different cutting patterns online like this one or this one. There are tons out there. Or you can just cut away and let it be a little surprise! That's my favorite way... I love the little surprise with each one!
A few tips...
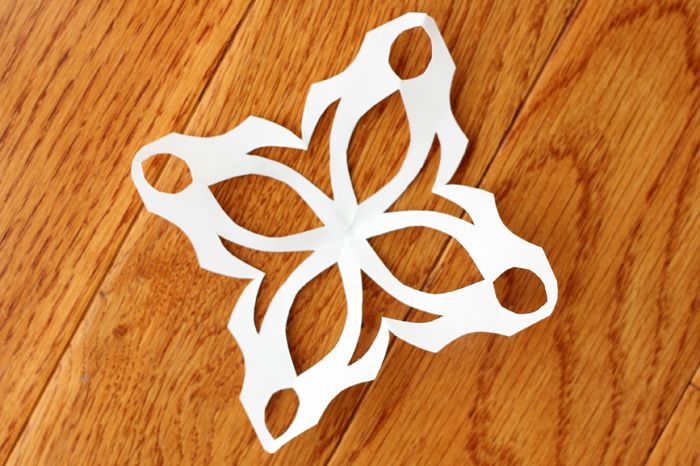
The smaller your cut outs are, the more you are able to fit making the snowflake look more intricate.
If you round the outer most edge you will lose the squareness of the paper, which is not at all a bad thing.
Be sure to leave some folded area still intact so you don't end up with too much cut out causing your snowflake to tear.
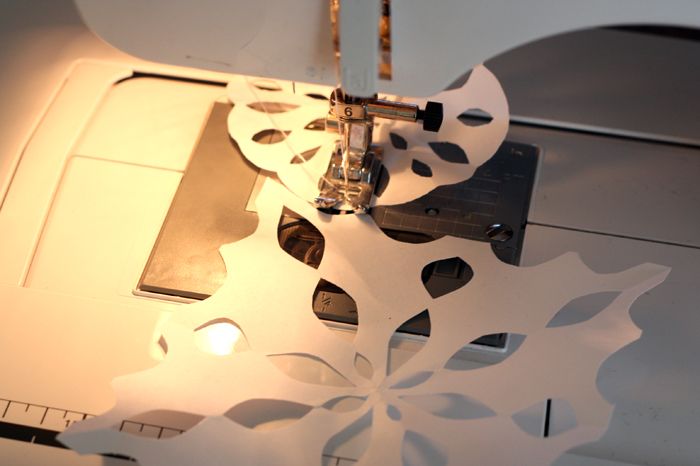
When you have a nice little collection of snowflakes begin sewing them together. Simple as that... push the peddle down and go! Add as many snowflakes to make them the garland as long as you need.
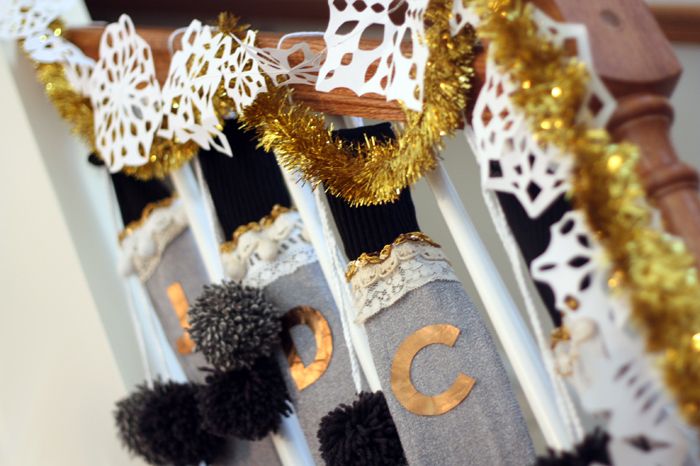
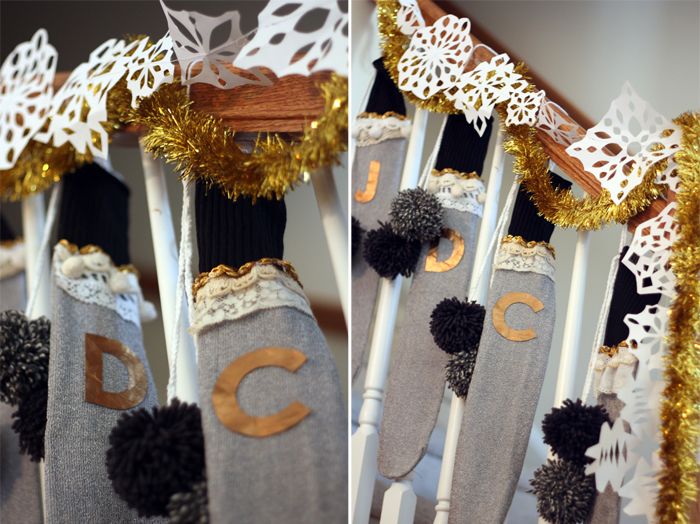
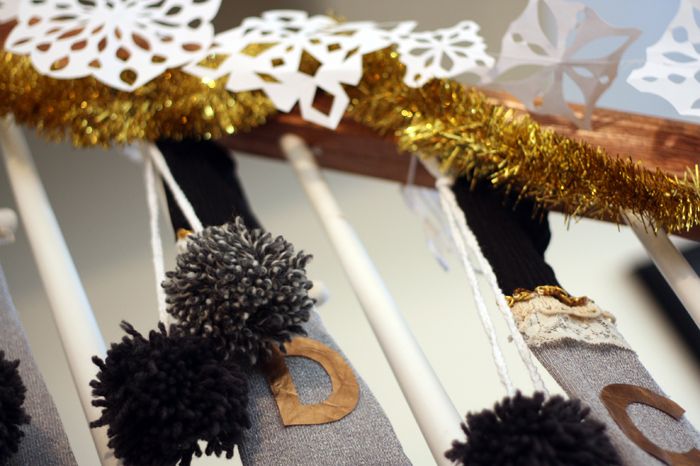
Once you've reached the length you want, hang it up and enjoy!!
What do you think? Simple and fast as can be right?? I know your little ones will absolutely love helping to create this fun holiday decor!
For a little more information about our new stockings, check them out here on my blog.


I love this! The garland turned out so nicely! I'm going to have to try this sometime!
ReplyDeletehttp://thehonestfox.blogspot.com/