
why hello. my name is Dawnelle. i am considered many things, mother and wife are at the top of the list. but you must not forget lover of sharpies, chief nose wiper, avid obsessor of texture and fabric, bohemian lover, interior designer, laundress, and the best book reader ever. i write over on Just Dawnelle about my sweet family and my life... what i think, feel, love, believe, do and obsess over.
Growing up memory was one of my families absolute favorite games. We played it all the time and we had quite a fun collection of memory games. My mother was quite the collector I believe. When I saw a felt version of memory (the original website is gone... sad huh?), I thought... what a perfect little game for Christopher! It's quiet and simple making it ideal for church too!
Growing up memory was one of my families absolute favorite games. We played it all the time and we had quite a fun collection of memory games. My mother was quite the collector I believe. When I saw a felt version of memory (the original website is gone... sad huh?), I thought... what a perfect little game for Christopher! It's quiet and simple making it ideal for church too!
I'll be honest though, Christopher is a little young for memory right now. BUT he isn't too young for a matching game! So not only is this a great memory game but it is also an absolutely fabulous matching game!


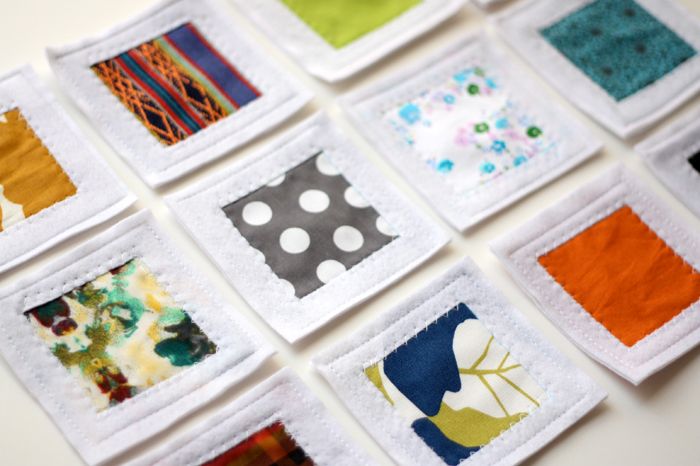
It was super easy to make too which is the best part! I love all the little square pieces of super fun patterns and colors. I
won't lie though, there was a time during this whole process when things
got a little sketchy... maybe a little tedious... all the little sewn
edges. But I quickly got into a groove and it turned out pretty fun!
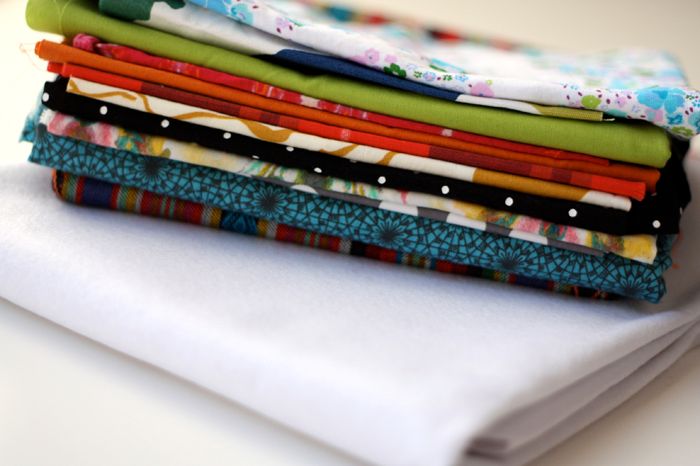
Materials
1 yard of felt
12 different pieces of fabric at least 4"x 8"
Cutting Utensil (scissors or rotary cutter)
Measuring Utensil
Sewing machine
Instructions
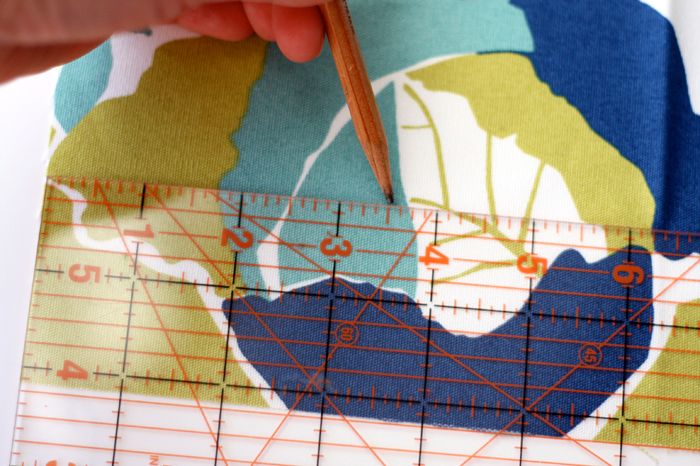
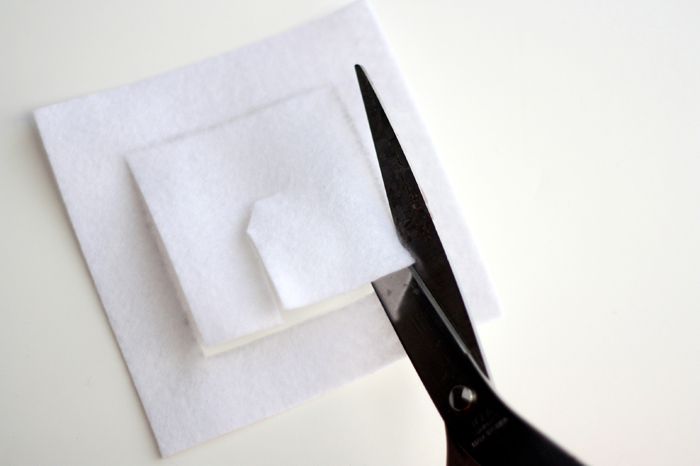
Begin by cutting out 48-4" squares out of felt. You will need two squares per finished piece, one for the bottom and one with a window cut out of it for the top.

Cut two 3-1/2" square pieces out of each of the twelve different fabrics. The patterned fabric needs to be a bit smaller than the felt so that it will stay hidden between the two pieces of felt.
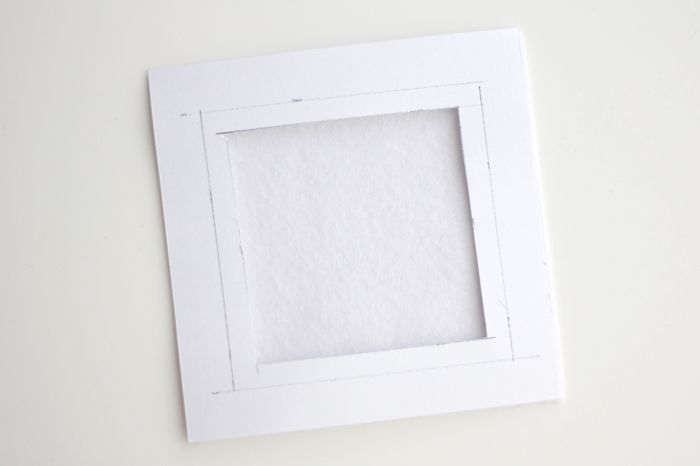
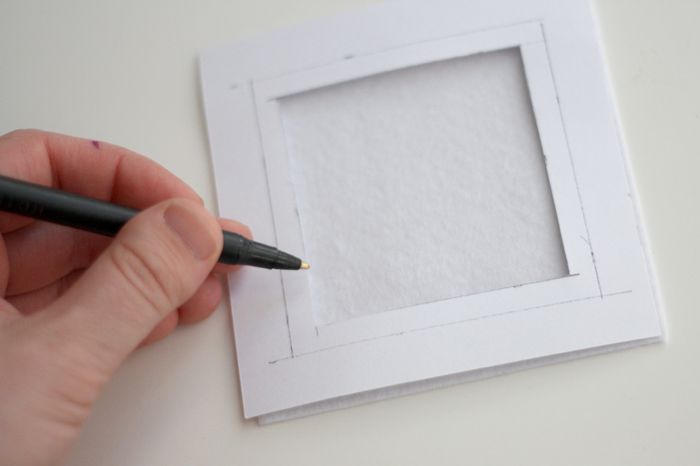
Next, it is time to cut the small windows in half of the felt squares. To make sure that I cut the window in the same place each time I made a paper template 4" square with a 3" square cut out of the center. This allowed me to easily trace and cut out the window for each game piece.
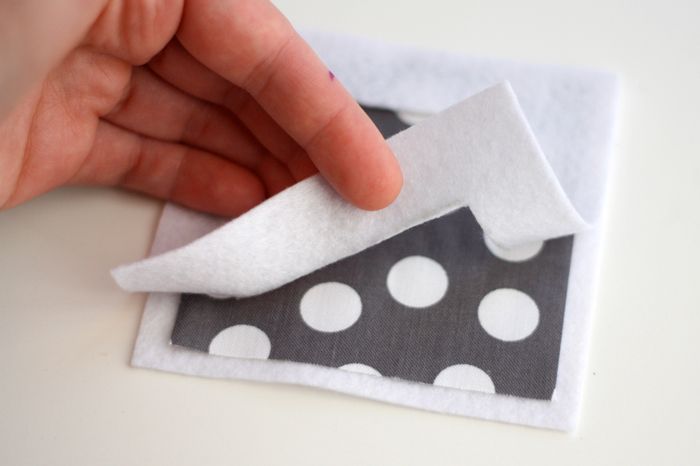
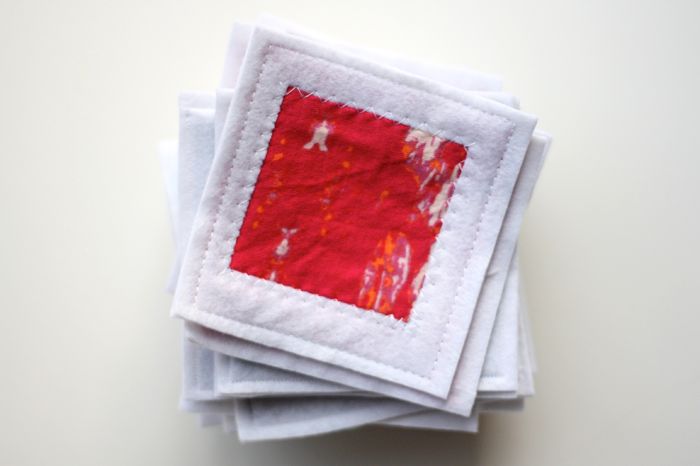
Once there are 24 felt pieces with the windows cut out, it is time to layer and put the game pieces together! Start with a solid piece of felt followed by a patterned piece of fabric and topped off with a felt piece with a window. Easy right?
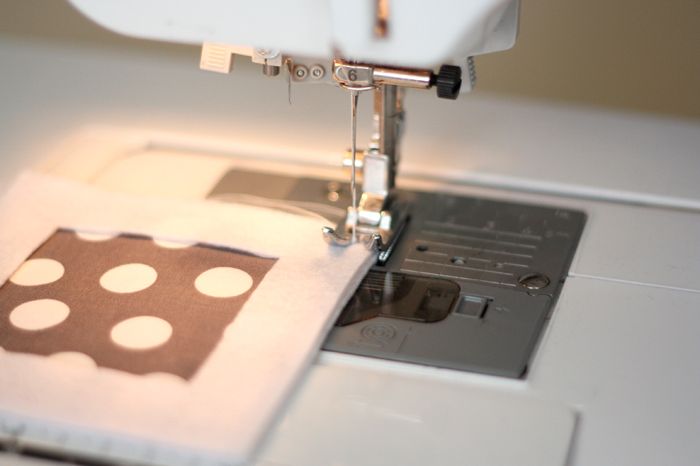
Now time to sew it! Use a straight stitch around the outer edges...
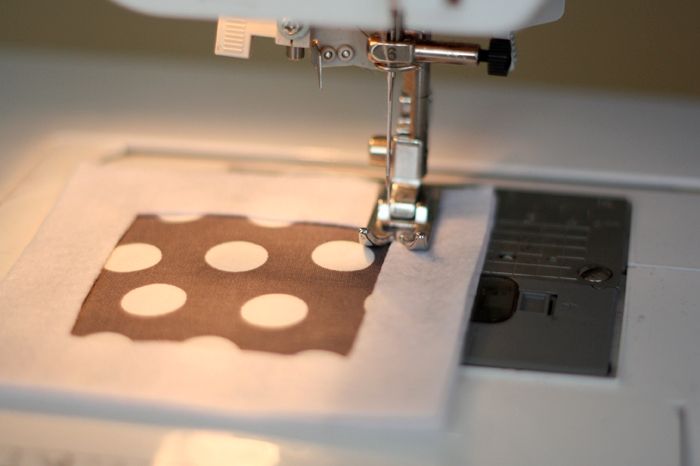
and a wide zig zag stitch around the window to hold everything in place.
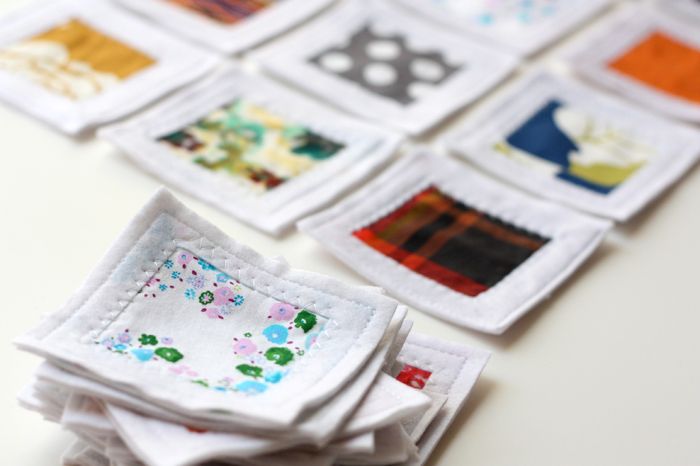
The edges may need to be trimmed up after all the sewing. I know mine did! I had some serious wonky looking edges due to the felt stretching all over the place while I was sewing. After a little trim though, they looked great!
I was really excited about the way the game turned out. And Christopher... he thought it was pretty fun! I'm excited to try it at church this week...


What do you think? Do you have anyone you know that would love a fun little memory game?


No comments:
Post a Comment