
why hello. my name is Dawnelle. i am considered many things, mother and wife are at the top of the list. but you must not forget lover of sharpies, chief nose wiper, avid obsessor of texture and fabric, bohemian lover, interior designer, laundress, and the best book reader ever. i write over on Just Dawnelle about my sweet family and my life... what i think, feel, love, believe, do and obsess over.
One of the activities we did at Christopher's party this weekend was stringing dyed noodles to make necklaces or garland. Well... I got to thinking... I should make a garland with Christopher's name on it that he can hang in his room. How fun would it be for him to see something that he made hanging in his room each day??
One of the activities we did at Christopher's party this weekend was stringing dyed noodles to make necklaces or garland. Well... I got to thinking... I should make a garland with Christopher's name on it that he can hang in his room. How fun would it be for him to see something that he made hanging in his room each day??
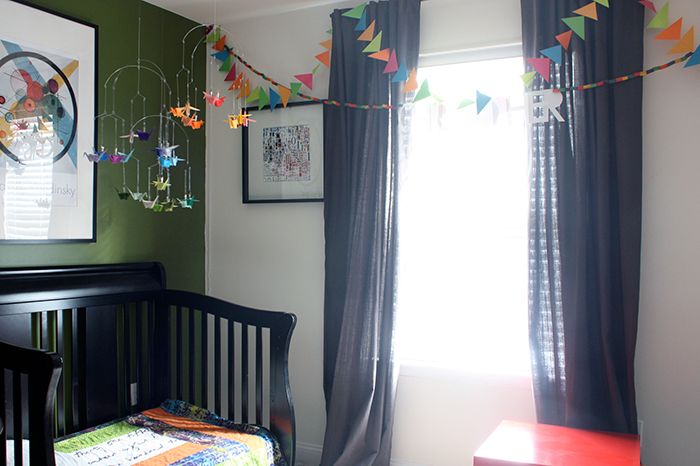
I won't lie, it was rather interesting helping Christopher string the noodles. But seeing the excitement in his face and hearing him giggle when he crawled into bed and saw his garland hanging there in his room made all the work totally worth it!!
The garland was unbelievably easy to make... There are two different parts to the project but really if you keep at it you totally could do the entire thing in a day.
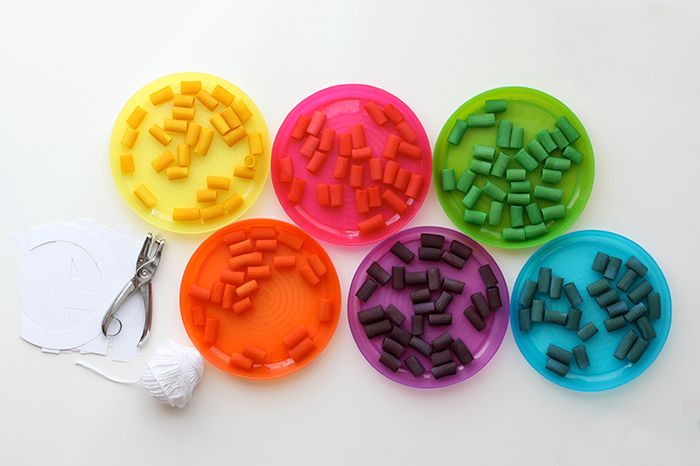
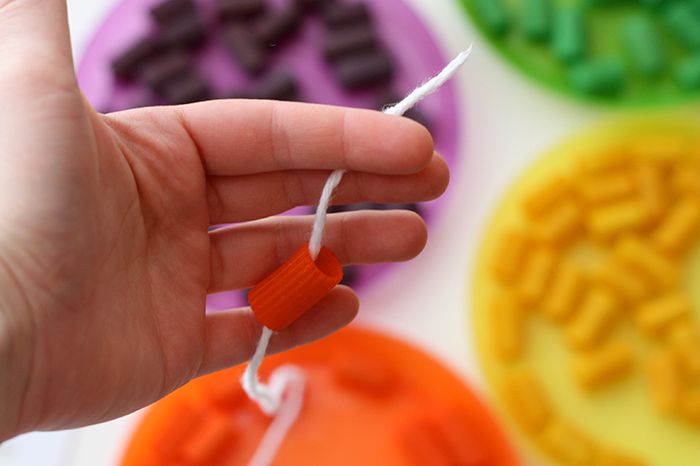
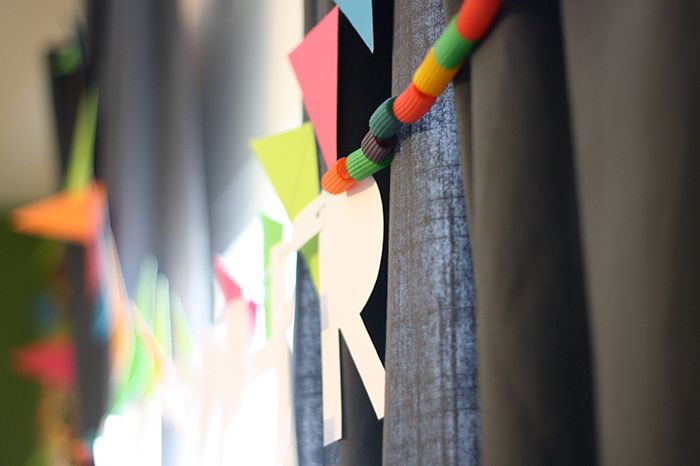
I used these instructions to dye the noodles. I used rigatoni noodles because they are large, columnar, and have a huge hole allowing Christopher to string them very easily. A few other tips you might want to remember... the longer you let the noodles sit in the food coloring the darker and more intense the colors get. I let mine sit for probably 30 minutes or so in the dye, flipping and shaking the bag every so often to make sure the color was evenly spread.
Once you have you colored noodles, it is time to string your garland! Are you ready??
Supplies
Dyed noodles (you could totally use really big beads honestly... the noodles are just fun because they're super cheap! We're talking like $2 for more than enough for a garland)
String
Hole Punch
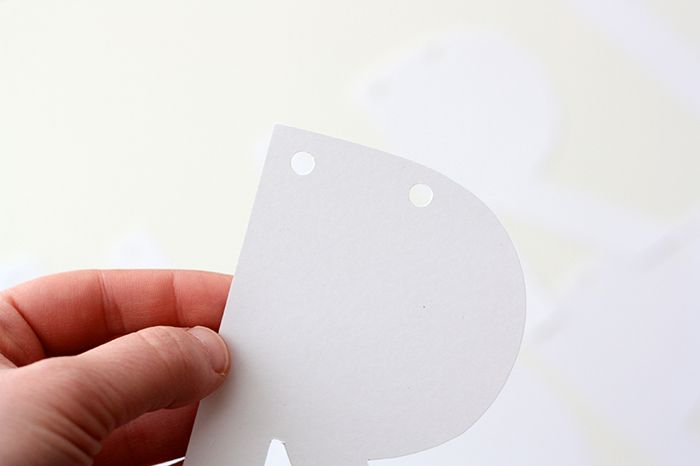
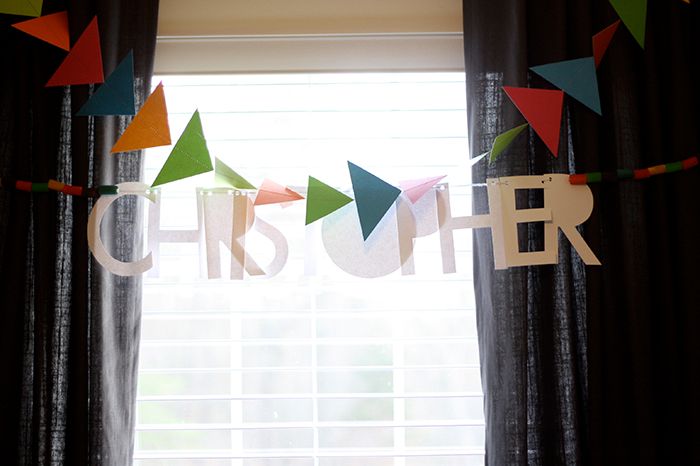
Letters to spell your desired word (I don't have anything to cut the letters out for me so I simply printed them and cut them out by hand.)
Instructions
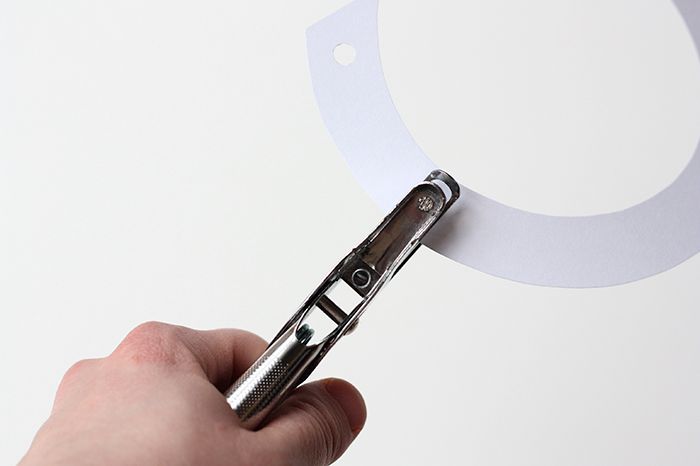
Punch holes in each of your letters. You want each letter to have two holes so that they will hang straight and flat.
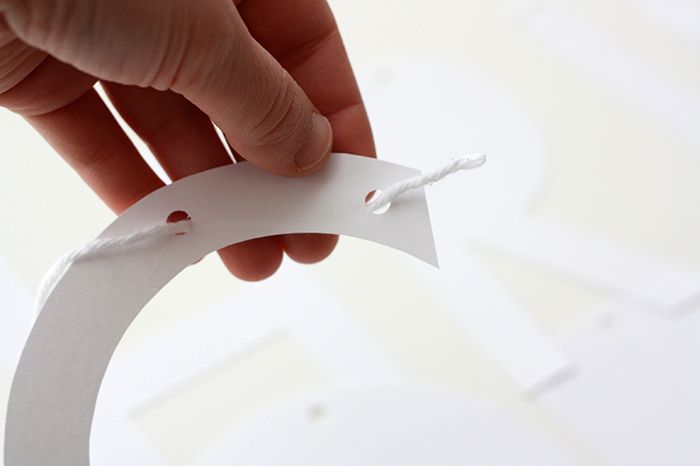
Cut your string so it is the length you would like the garland to be.
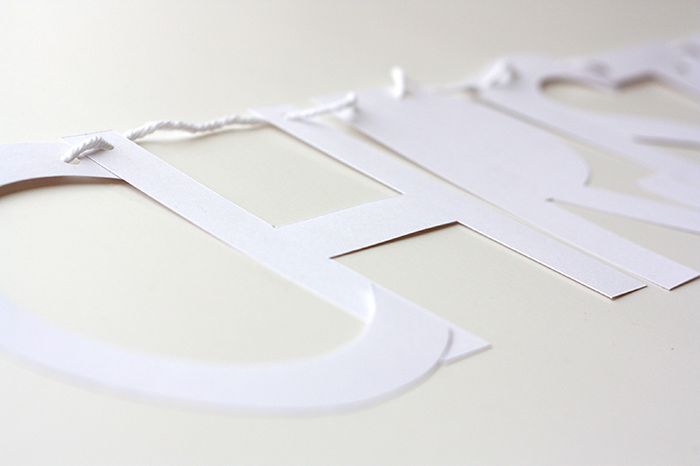
Begin stringing your letters onto the string. I would recommend stringing the letters from the front down and then back up through the second hole. This makes the string along the letter in the back not the front. Trust me... you'll want it that way...
Center your letters so they spell your word in the center of your string.
String your noodles onto the garland on either side of the word keeping the number of noodles even on both sides.

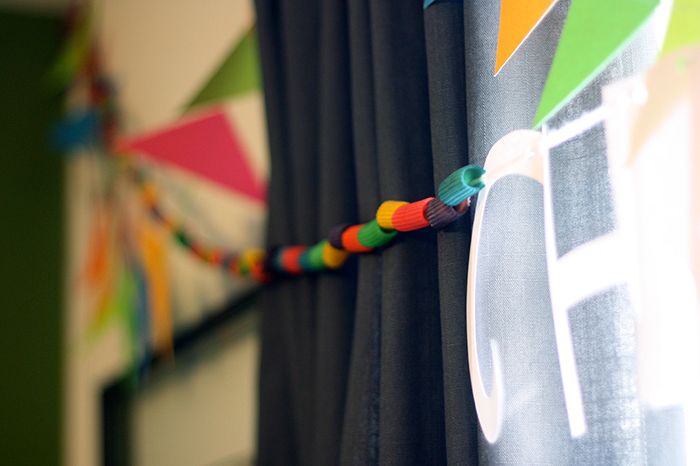
Once you have strung your desired amount of noodles, hang it up!! Enjoy it!! Let your baby feel proud of his hard work!
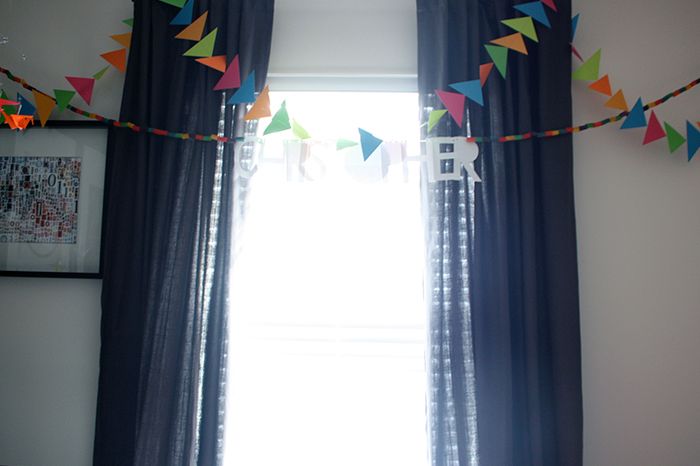
And there you have it!! Super easy right?? So... is this super cute or just super tacky? I can't decide... Christopher loves it though so I think it will stay up for awhile for him. There is something special in letting your child see his work and be proud of creating something I think.
The triangle garland was made using by sewing a bunch of triangles together to create a garland for decorations for Christopher's party. I thought it looked super fun in his room so hopefully it has a new home!


Super cute!! I LOVE that you show him that his art is worthy of display. I think that instills a special kind of creative confidence! LOVE it!
ReplyDelete