
why hello. my name is Dawnelle. i am considered many things, mother and wife are at the top of the list. but you must not forget lover of sharpies, chief nose wiper, avid obsessor of texture and fabric, bohemian lover, interior designer, laundress, and the best book reader ever. i write over on Just Dawnelle about my sweet family and my life... what i think, feel, love, believe, do and obsess over.
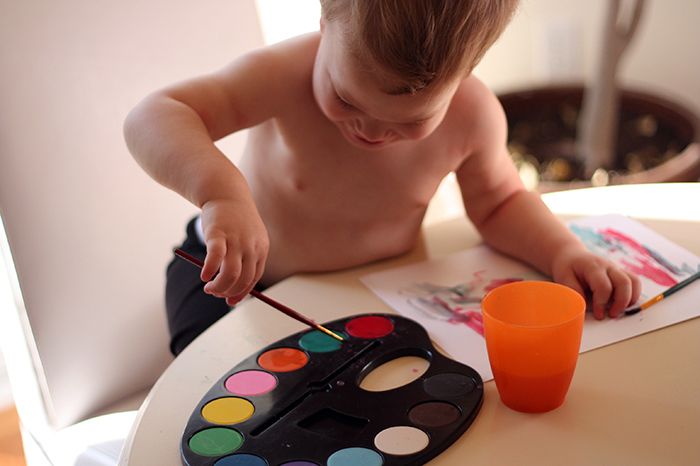
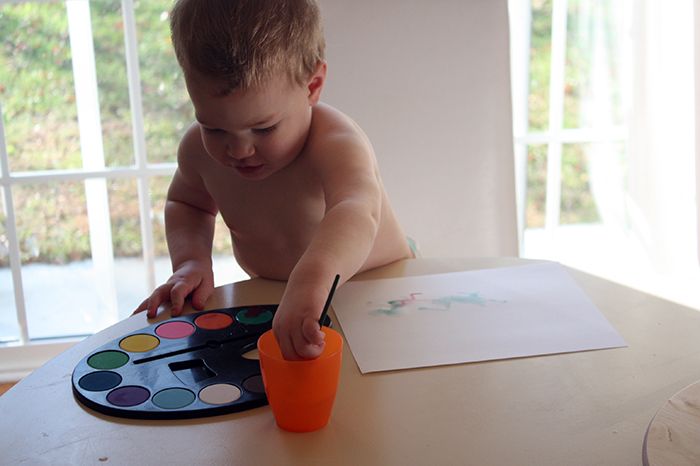
Painting, oh what a fun thing to do with a little one. Painting with watercolors is super easy as well as forgiving on furniture, clothes, and little hands and faces (usually...) They are easily wiped off and cleaned up! And how freeing it is for a child to explore color, have the ability to create with no limits, and be allowed to make a little bit of a mess right??
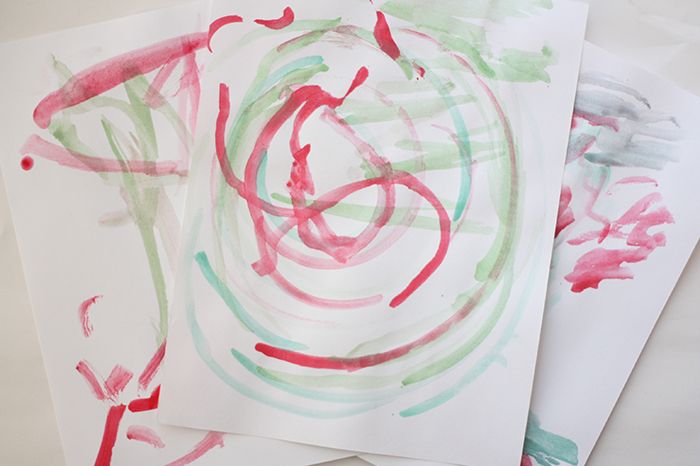
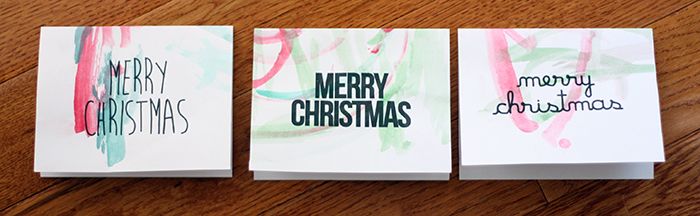
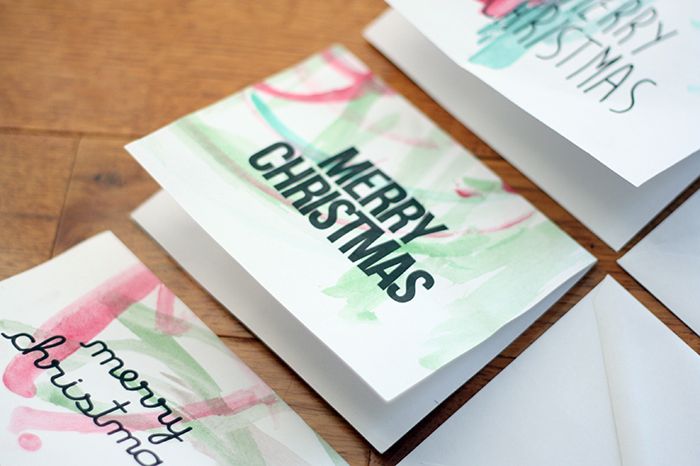
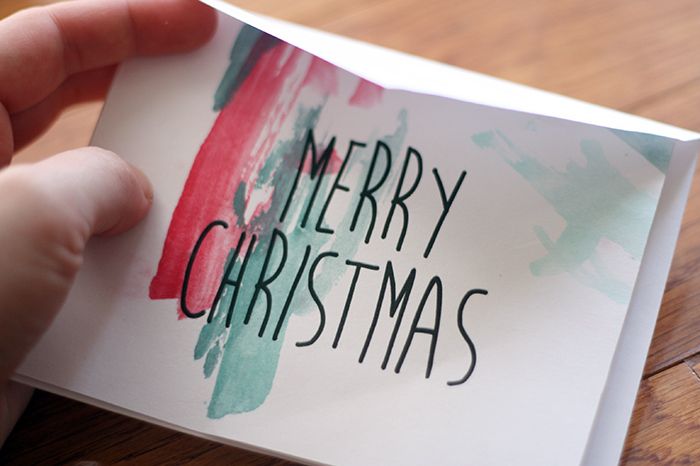
After we were finished painting, we took all of our paintings and made Christmas cards out of them! I'm so excited to be able to send these precious little things, created by Christopher, my little boy, to our family this year. They are something I know I will treasure forever.
They were the simplest cards to make and have such a fantastic story, who couldn't love them right??
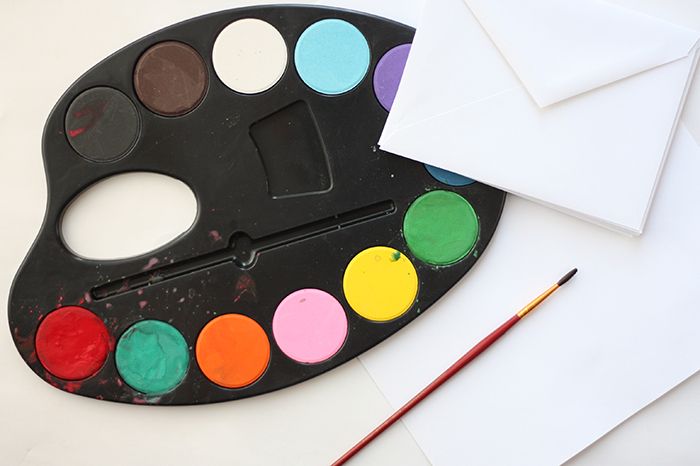
Supplies
Watercolors
Paint brush
Heavy weight white paper (cardstock)
Envelopes
Instructions
Once everything is set up, paper, watercolors, brush, water... Let your little one go crazy! Watercolors come off of most surfaces (and if you are worried, cover everything with an old sheet... or newspaper... or plastic wrap!)

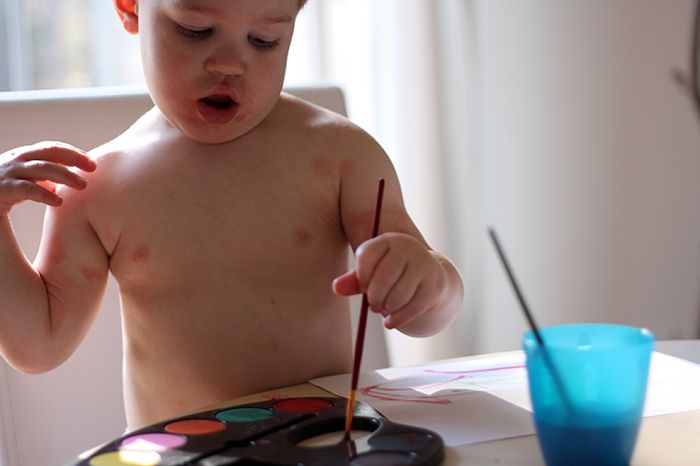
Don't worry about them mixing the colors or painting anything in particular. Let them explore the painting process. Let them experiment with the colors and brushes. It is all part of the learning process! I would be lying to you if I told you that my little boy didn't take a quick swig of his paint water only to spit it back out and tell me how yucky it was. But hey... that is part of the process... They are learning! (He didn't do it again after that though!)
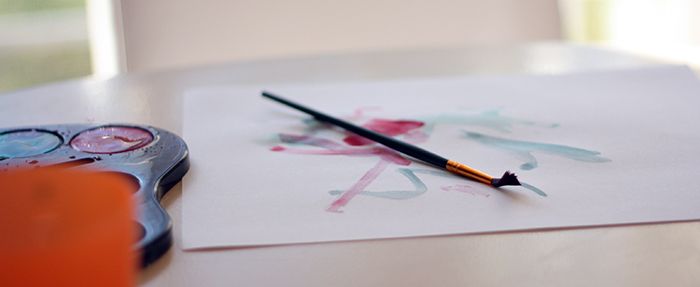
After they have painted their little hearts out, let all their paintings dry. You need them nice and dry to run them through your printer.
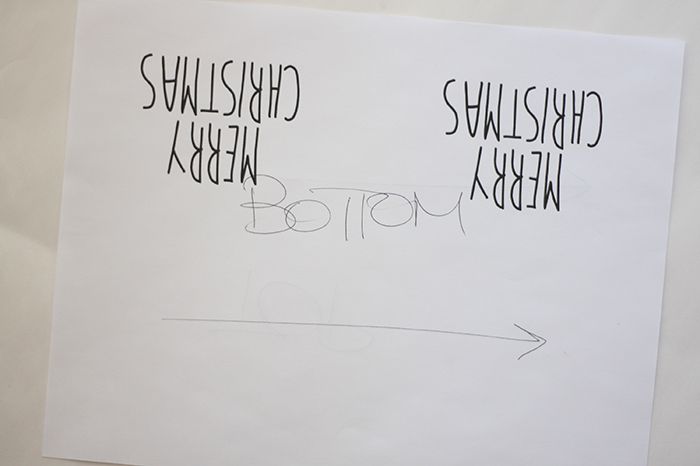
Meanwhile, you'll want to create a document that has the greeting for your card
on it. Use whatever program you are comfortable with. If you would like to use any of
mine, you can download them here on my personal blog. They aren't the
work of any kind of graphical genius, but they are simple and I liked that they didn't take away from the paintings!
Once you have your greeting all ready to print you will need to figure out what way your paper needs to go into your printer so you can print onto the side with the painting on it. A little trick... write "top" on the paper that is going to face up and "bottom" on the bottom side with an arrow pointing the direction you load the paper. Then run a little test print. If your printing ends up on the side that says "bottom" then you will want to load your paper with the painting down.
When you've got it all figured out... print away!!
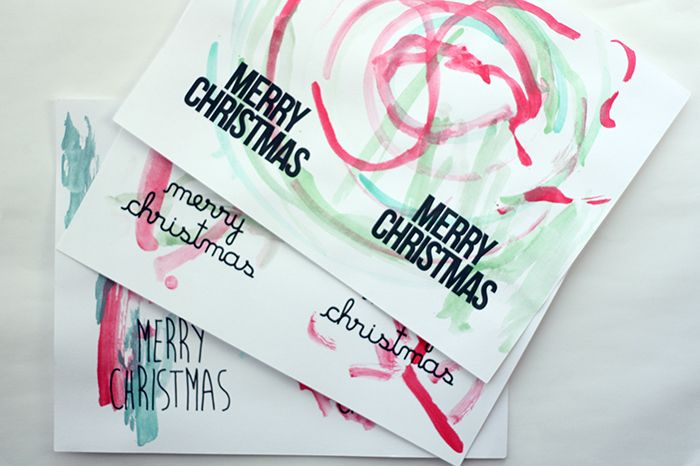
Cut those puppies in half, fold and wha-la! Your own little personalized Christmas cards!
If Christopher was old enough to write, I would let him write a little message on the inside and address the envelopes too but alas... we must wait a few years. Until then... I think I can handle it.
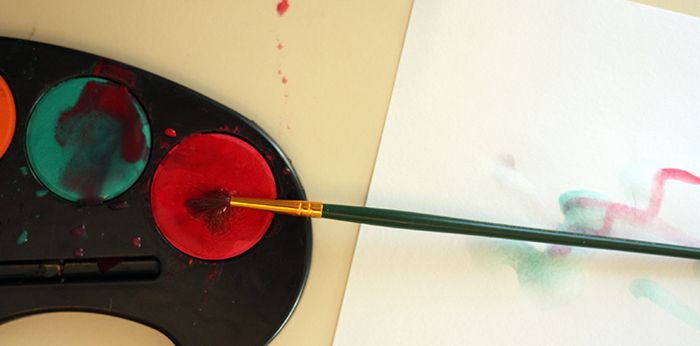
So what do you think? We only used green and red paint but I would love to see them with lots of different colors!!


I love this idea! Wish I'd seen this before we ordered ours and paid a pretty penny;) Thanks for the beautiful idea. definitely keeping this in mind for next year.
ReplyDelete